I’ve wrestled with more warped floorboards than I care to admit, and fixing wood floor buckling requires patience, a moisture meter, and the ability to recognize when weighted pressure can resolve the issue.
First, identify the moisture source, whether leaks or humidity, and dry everything completely.
For minor buckles, pad the peak with a cutting board and apply weights like textbooks or dumbbells, checking daily.
Severe heaves need relief joints cut straight through the swell, shallow and careful.
Replace stubborn boards with matching species after checking subfloor moisture first, then maintain 30–50% humidity with a hygrometer.
Your floor has more usable life remaining if you address moisture problems promptly and monitor conditions regularly.
What’s Making Your Wood Floor Buckle?
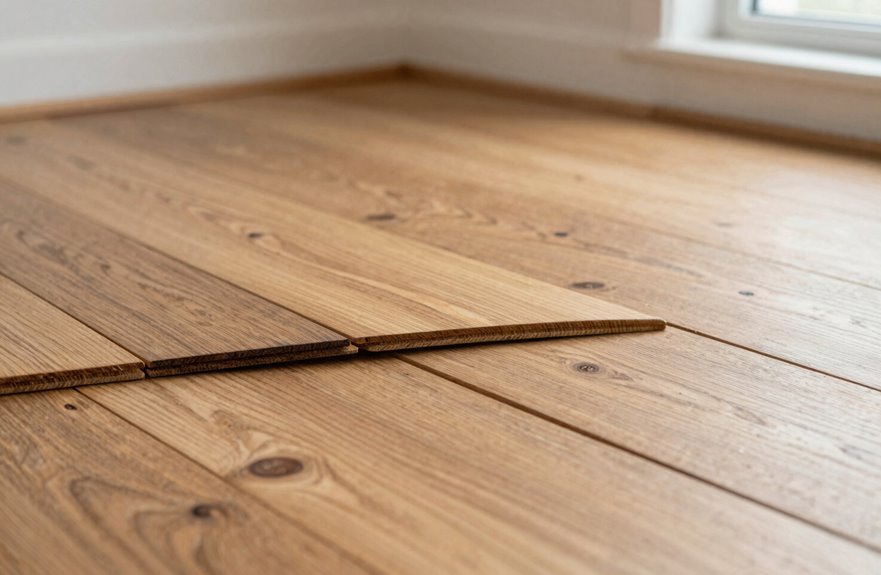
Why does your gorgeous hardwood suddenly look like it’s trying to escape. I’ve dealt with this, staring at those warped boards wondering what went wrong.
Buckling happens when moisture sneaks in and your wood swells, pushing upward from the subfloor like it’s gasping for air. Maybe you spilled that giant iced coffee, or your humidity’s gone wild, or there’s a sneaky leak under the sink. I’ve seen cupping where edges rise like tiny waves, crowning with midboard humps, and boards completely lifting off.
Moisture sneaks in, wood swells, and suddenly your floor is gasping for air—blame that iced coffee, wild humidity, or the leak you forgot about.
Concrete subfloors are especially tricky. Without proper vapor barriers, plastic, spacers, and acclimation, moisture emissions attack from below. If your installer skipped acclimating the wood, you’re inviting structural failure.
Several solutions exist for addressing wood floor buckling, depending on severity and cause. Identifying and eliminating the moisture source comes first. This may involve fixing leaks, adjusting humidity levels, or installing proper ventilation. For minor cupping, allowing the wood to dry gradually can sometimes reverse the damage. Severe buckling often requires replacing affected boards or sections of flooring.
Dry the Area Completely Before Any Repairs
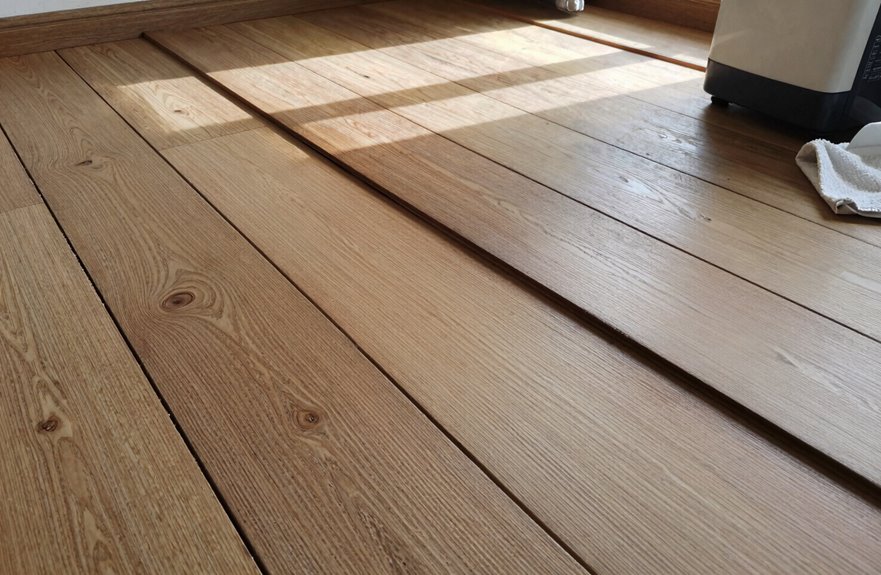
Once you’ve tracked down that moisture culprit, I’m itching to grab my tools and start prying up boards, but jumping in too fast is how you end up doing this whole dance twice.
I learned that the hard way. Now, I always start by spotting every damp patch, sopping up standing water, and getting eyes on that subfloor because hidden moisture there will wreck your fresh repairs from below.
I grab my moisture meter (best $40 I ever spent), and I don’t move forward until those readings hit the sweet spot my flooring specs demand. Fans blasting, dehumidifier humming, windows cracked for airflow, I’m talking 24 to 72 hours of controlled drying depending on how bad the situation is. Then I recheck because waiting now prevents buckled floors later.
Flatten Minor Buckling With Weight First
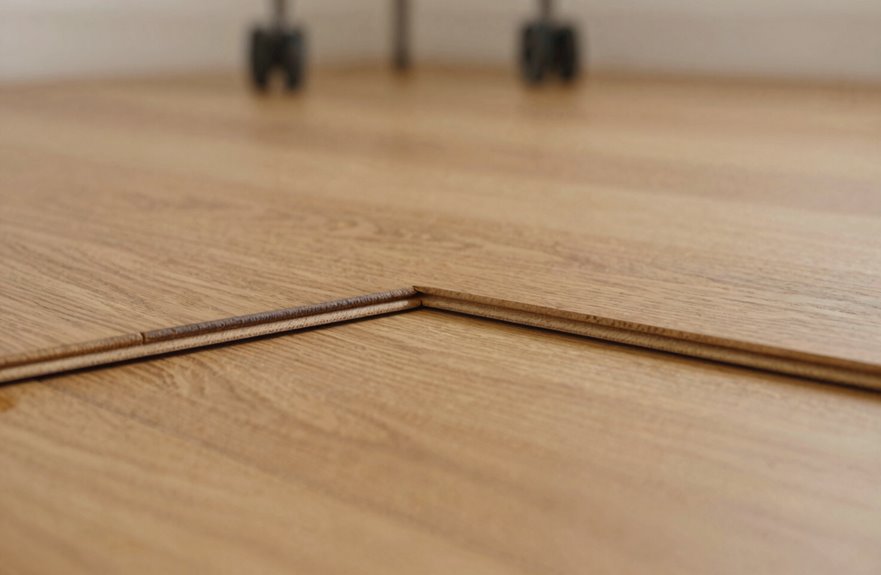
If I’ve got a little hump in my floor that hasn’t gone full mountain range on me, I reach for the heavy stuff before I even think about sawing anything out. My old college textbooks, a couple of dumbbells, maybe that weight bar I swore I’d use more back in January all work well for this.
My battle-tested routine for flattening that buckling:
- Check for moisture first – I run my hand over the boards, feeling for dampness that’ll sabotage everything
- Pad and protect – slipping a clean cutting board under my weight stack so I don’t dent my finish (learned that the hard way.)
- Stack strategically – centering that weight directly on the buckle’s peak, not off to one side like a rookie
- Watch daily – peeling back my stack each morning, because buckling fights back when you’re not looking
If the boards stay flat after three days, the buckling has been successfully arrested.
Cut Relief Joints for Severe Heaves
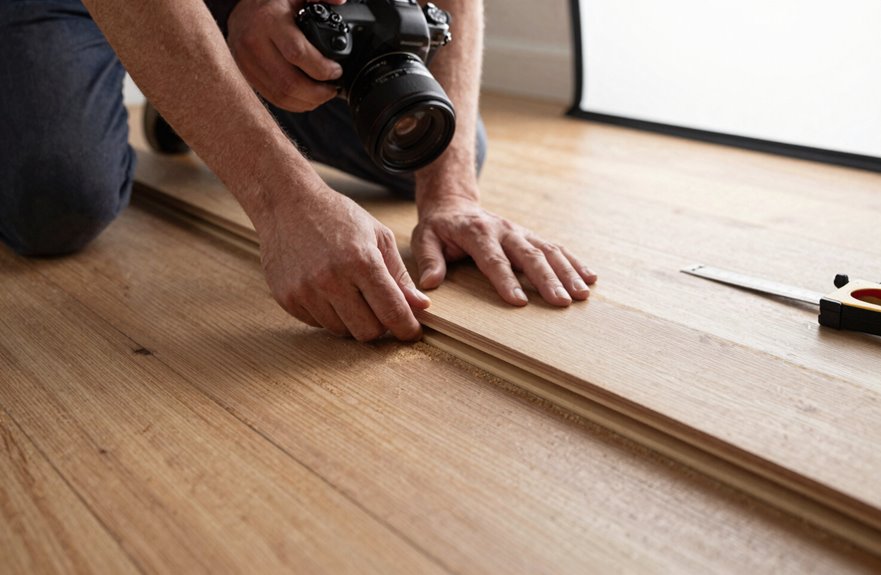
Sometimes that hump laughs at my textbook pile, and I know we’ve moved past the gentle approach. When your buckled hardwood refuses to flatten, I grab my circular saw and cut a relief joint straight down the wood line, right through that stubborn heave. Sever those tied fibers, release that pressure, watch the tension crack like a sigh.
I’ll keep the blade shallow and avoid the tongue-and-groove on neighboring boards. Nobody wants collateral damage. One cut, check the drop; sometimes you need a second pass, and that’s acceptable. It’s not pretty, I’ll admit. More triage than transformation, this relief joint lets sections settle without yanking up planks. Imperfect, urgent, effective. Your floor just became that friend who needs tough love.
Replace Boards That Won’t Flatten

Why wrestle with a board that’s thrown in the towel? Sometimes that buckled hardwood simply won’t cooperate, and that’s okay.
Here’s how to tackle stubborn replacement boards:
- Match everything—species, grade, width, finish—so your floor looks like one happy family, not a patchwork quilt gone wrong.
- Check subfloor moisture with a meter before you install. Moisture problems cause floor failures.
- Let those boards acclimate to your room’s conditions for several days. Installing boards before acclimation leads to cupping, crowning, and gaps.
- Leave expansion gaps around walls and between boards. Wood expands and contracts with humidity changes.
Secure with proper tongue-and-groove joints, adhesive, or fasteners per manufacturer specs.
Test Subfloor Moisture Before Reinstalling
Before I even think about clicking those new boards into place, I’m grabbing my moisture meter because skipping this step invites floor failure.
I press those prongs into the subfloor. Concrete or plywood, it doesn’t matter. I’m hunting down subfloor moisture like a detective chasing clues. My RH target is that sweet spot the manufacturer specifies, usually 6–12%. I’ve seen friends nail gorgeous oak over damp concrete, only to watch it cup and crow like a bad haircut six months later.
I jot every reading, chase every leak, and wait. Actually wait. Until my numbers stay put. Buckled floors are worse than any delay.
Maintain 30–50% Humidity to Protect Your Floor
I’ve learned the hard way that keeping my home’s humidity between 30% and 50% is the sweet spot. Any lower and my floors start gaping, any higher and they puff up from moisture absorption. Wood expands and contracts with humidity changes, so maintaining this range prevents cupping, crowning, and gaps. A hygrometer is an inexpensive tool that lets you monitor humidity levels before damage occurs to your planks.
Ideal Indoor Humidity Range
How do I keep my gorgeous oak planks from turning into a wavy mess? I keep my humidity locked between 30% and 50%, and it’s the sweet spot that keeps floors looking wonderful.
Here’s my battle-tested routine:
- I grab a hygrometer, a cheap, tiny device that tells me exactly where I stand with no guessing games.
- When summer hits and the air feels like soup, I fire up dehumidifiers before my planks start their yoga poses.
- I watch for seasonal swings, adjusting my setup because my floor doesn’t do well with drama.
- I celebrate the small wins. No cupping, no crowning, just that smooth, mirror-like finish we all crave.
Your floors will perform better with consistent humidity management.
Preventing Moisture Damage
Why does my beautiful floor suddenly look like it’s trying to escape the room? I’ve stared at those warped boards feeling personally betrayed. Moisture is the culprit, and preventing it requires consistent action.
I keep my humidity locked between 30–50% using a cheap hygrometer, which functions like an early warning system for floor damage. If humidity rises, I use a dehumidifier. If it drops too low, I use a humidifier.
Leaks pose the greatest risk. I ignored a tiny drip under my sink, which led to severe buckling. Now I address spills within 24 hours, repair roof issues immediately, and ensure proper bathroom ventilation. Damp towels no longer sit on my hardwood floors.