
I’ve laid tile over concrete more times than I can count, and skip the moisture test, and you’ll be ripping up your gorgeous work in six months, guaranteed.
Start by testing for dampness with plastic sheets or probes, then patch those cracks with thick compound.
Map your layout from the center, dry-lay first so you’re not stuck with slivers at the edges.
Mix thin-set to peanut butter consistency, spread it with a notched trowel, and press tiles in with a twist. Cut edges while mortar’s wet; chipping is not the vibe.
Tap everything level, grout same-day, and seal those cement beauties so spills bead up like magic.
Your floor will last for years and perform as intended.
Test Concrete for Moisture Before You Start
Why jump straight into tiling when your concrete slab might be hiding a sneaky secret? I’ve learned the hard way that moisture is that friend who crashes your party uninvited, ruining everything.
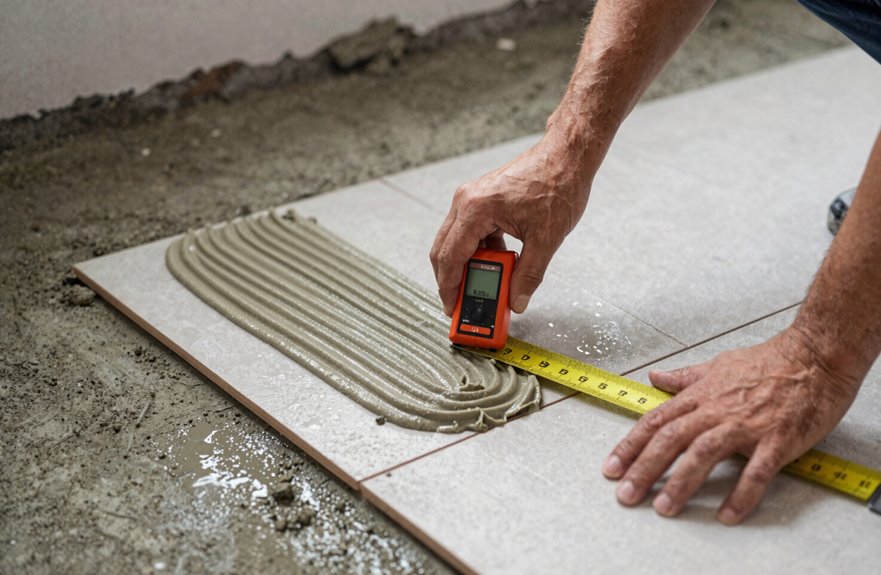
Before you even think about thin-set compatibility, you’ve gotta run a proper moisture test. I look for telltale signs first: suspicious damp spots, that white chalky efflorescence creeping up, or that weird damp-seal smell that hits you like old gym socks. Then I break out the serious tools, plastic-sheet tests or probe tests, to get actual numbers.
Your slab needs 28 days minimum to cure, or you’re begging for bond failure. If my moisture test screams “nope,” I don’t panic. I ventilate, barrier up, or grab damp-condition primer. Always check those results against your tile manufacturer’s limits. Moisture damage causes popping tiles and failed installations, so this step determines your project’s success.
Patch Cracks and Level the Concrete Surface
Once that moisture test gives me the green light, I roll up my sleeves and face the real battlefield: the concrete itself. I’m talking cracks, pits, those sneaky low spots that’ll telegraph right through your gorgeous tile. I grab my flashlight, mark every flaw with chalk while crawling around, and prioritize the worst offenders.
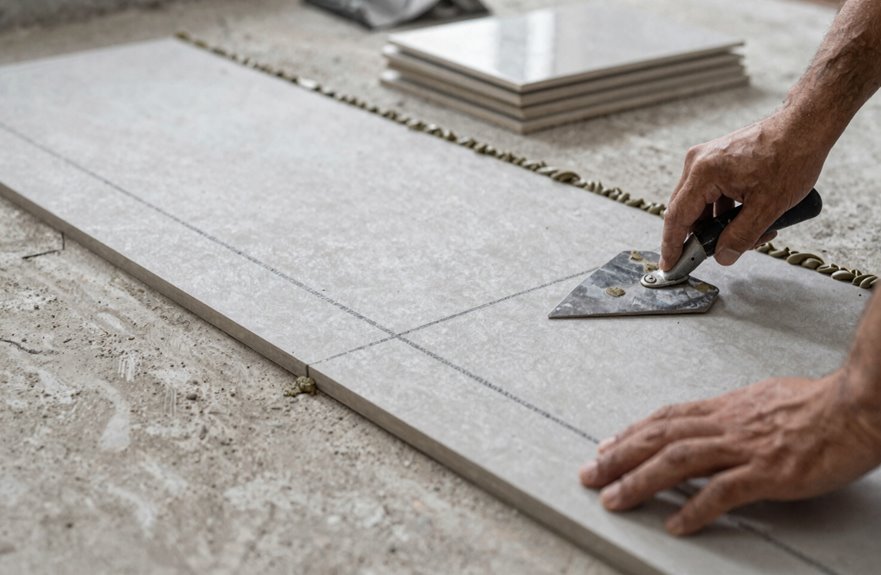
I mix up patching compound, thicker than pancake batter but smoother, and trowel it into each crack and depression. For the largest cracks, I layer multiple coats using reinforced mix so I don’t redo this in six months. I feather edges flush, obsessively checking with a straightedge until that concrete surface is pancake-level. Let it cure completely, sweep away dust, and the surface is ready.
Install Membrane or Underlayment (If Needed)

Membrane installation sounds intimidating, but it’s basically giving your tile a bodyguard. After all that concrete preparation, patching, leveling, and sweating, you’re ready to move forward. Roll out decoupling membrane like you’re wrapping a present. Apply liquid membranes like you’re frosting a very boring cake. Each underlayment has its own personality, its own cure time, its own requirements.
Prime first if the manufacturer says so. Overlap seams like you’re tucking in a child. Never rush the dry time; inadequate curing will compromise your installation.
Your concrete’s clean and flat. Now you’re protecting against moisture, movement, and shifting substrate conditions. Compatibility matters; check that thin-set label for adhesive and membrane compatibility. You’ve already completed the most labor-intensive preparation work.
Map Your Tile Layout From the Center Point
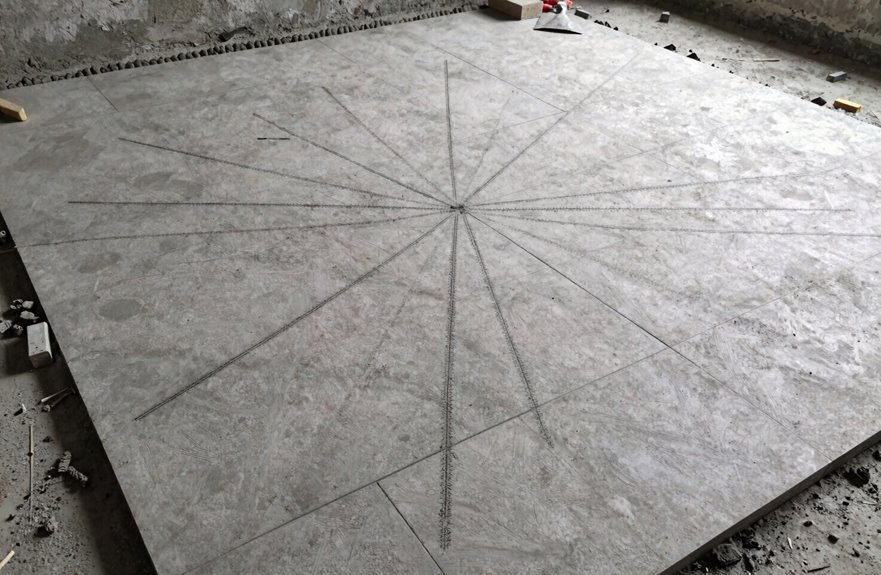
With your membrane or underlayment locked in and cured, you’re finally standing on a surface that’s ready for the practical work of seeing where your tiles will live. Grab your chalk line and snap a true center point, as crooked tiles will be visible from across the room.
Your surface is cured and ready—snap a true center point with your chalk line, because crooked tiles never hide.
Here’s how to make this tile layout work:
- Dry lay from that center point outward, spacers in place, watching the pattern bloom like a checkerboard.
- Eyeball those edge cuts, adjusting so no wall gets stuck with a sliver that looks out of proportion.
- Mark perpendicular starting lines so your rows stay aligned and consistent.
This dry lay is your dress rehearsal before the actual installation.
Mix Mortar to Peanut Butter Consistency
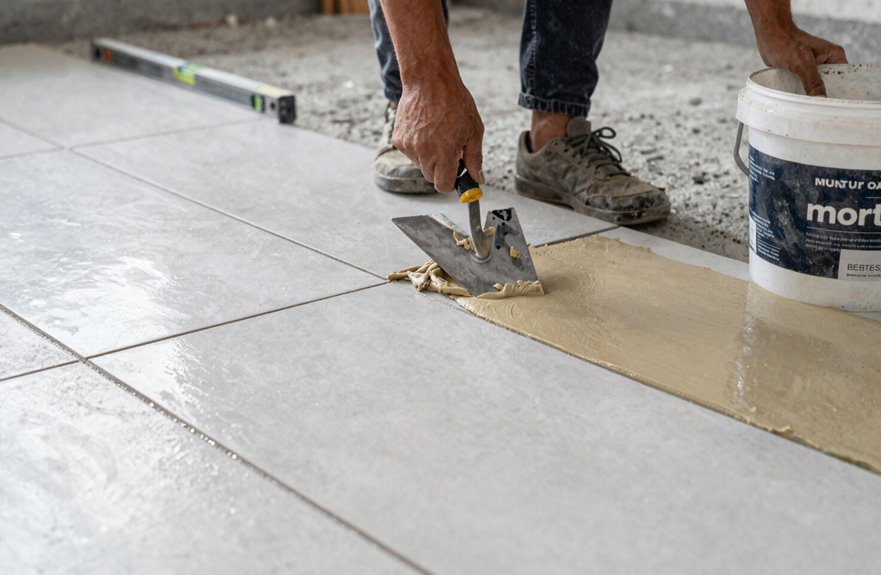
The moment I’ve been waiting for, let’s get messy. I grab my bucket, pour in thin-set mortar powder, and start slow. Small batches are essential; I learned that the hard way when half my first mix turned to concrete before I could blink. I add water bit by bit, stirring until it thickens into that glorious peanut butter consistency. You know it when you see it; thick enough to coat my notched trowel without dripping, smooth like frosting, not soup. Too runny and tiles slide like they’re on ice, creating lippage problems for days. If it stiffens up, I resist the panic-water urge and remix instead. Getting this right means everything else flows smoothly.
Spread Mortar and Set Tiles From the Center
I’ll mix my thin-set to that perfect peanut butter consistency, thick enough to hold ridges and loose enough to spread smooth. Then I’m grabbing my notched trowel, because this is where the magic happens. I always start in the middle of the room, since that center-out approach saves you from skinny sliver tiles along one wall. The regret of eyeballing it wrong is real.
Press, twist, space, and repeat while working outward like a tile-laying spiral. Keep that wet sponge handy, because dried mortar on your new tiles requires immediate cleaning.
Mortar Mixing Essentials
So how do we actually get these gorgeous tiles to stick to that rock-solid concrete? I’m mixing modified thin-set mortar, following the bag instructions carefully because my floor kinda does. That 45–60 minute pot life is our window.
Here’s what I’m picturing as I work:
- The powder hitting water, swirling into creamy peanut butter perfection
- My notched trowel skimming across cold concrete, leaving chocolate-frosting ridges behind
- Those ridges collapsing under tile pressure, squeezing into every microscopic crack
I spread thin, comb consistent, and keep moving without hesitation. The trowel angle is critical to success. Too steep, and I’m scraping bare concrete; too shallow, and I’ve got valleys where valleys shouldn’t be. We’re building something permanent here, together.
Center-Out Tile Placement
Where exactly do we begin when staring down acres of cold concrete? Start right in the middle, because center-out placement prevents lopsided layouts.
I snap chalk lines, laser-level style, finding that perfect symmetrical axis where our layout works properly. Then I dry-lay tiles outward, visualizing the pattern and adjusting for walls that are rarely square. This rehearsal prevents mistakes during installation.
Next comes the thin-set application. I spread mortar in bite-sized sections, notching ridges with my trowel, pressing tiles from center toward edges. Tile spacers keep gaps consistent. I check levelness repeatedly, because uneven tiles create problems later.
Edge pieces get cut last, ensuring half-tiles near walls match perfectly. Balanced, beautiful, and properly installed.
Cut Edge Tiles While Mortar Is Still Wet
I always cut my edge tiles while the mortar’s still wet. It’s a practical approach that eliminates wobbly gaps and guesswork. The soft mortar cradles the tile like clay, allowing you to nudge it flush against the baseboard and shave off slivers with your wet saw until that pencil line disappears. This method prevents the need for redos when those crisp wall lines are complete, unlike the lopsided bathroom results from attempting this work after mortar has dried.
Cut Edge Timing
Why rush to cut every edge tile before I even mix the thin-set? I learned this the hard way. Cutting too early means misaligned pieces, ragged edges, and that awful moment when nothing fits. Instead, I wait until the thin-set mortar is wet and workable, then I grab my wet saw to make those cut edges sing.
Here’s what happens when I time it right:
- The blade slicing through porcelain like butter, water cooling every inch, no chips flying
- That satisfying *click* when the cut tile drops into place, buttered edges kissing fresh mortar
- Spacers standing at attention, grout lines marching straight to the wall like soldiers
I cut ahead of placement, never behind. Dragging cured mortar is a nightmare I skip entirely. Patience here prevents misalignment and wasted material on your floor.
Wet Mortar Advantage
Timing those cuts right opens up something even better: the advantages of working while the mortar’s still wet. I learned this the hard way with chipped edges everywhere until I started cutting tiles directly into that fresh bed. The wet mortar acts like a cushion, letting your blade glide clean without those nasty fractures. No dust cloud choking you either; everything stays locked in the adhesive where it belongs.
Working with wet mortar delivers several practical benefits. You get that satisfying “pop” as trimmed pieces settle perfectly flush, with no dragging and no fighting the material. The mortar cure time hasn’t started its countdown yet, so you’ve got breathing room to nudge, adjust, and wipe excess before it stains. Once you feel that smooth alignment click into place, wet-cutting becomes the standard approach because it reduces material waste, minimizes surface damage, and speeds up installation.
Tap Tiles Level and Wipe Away Excess Mortar
So how do you know when a tile’s sitting pretty? I’m tapping tiles with my rubber mallet, listening for that satisfying, solid thwack that means we’ve got full contact. No hollow sounds allowed in our crew.
Here’s what I’m seeing as we build this level surface together:
- The mallet bouncing back with purpose, like it’s agreeing, “Yep, that’s the spot.”
- Thinset oozing slightly at edges, that creamy peanut butter consistency indicates perfect adhesion.
- My spirit bubble resting dead-center, that green zone shows the surface is level.
But wait. Don’t get so excited you forget the mortar haze. I’m grabbing my damp sponge, wiping faces clean before that film becomes permanent. Check your row alignment now, because once this sets, you’re committed. Adjust, breathe, and verify your work is complete.
Grout Joints and Clean Excess the Same Day
The tiles are locked in, mortar’s cured, and now I’m staring at those gaps between my beautiful new floor. Time to fill them up. I grab my grout float, angle it at 45 degrees, and press that grout deep into every joint. Really work it in there. Then I’m scraping off excess grout from the tile faces before it gets stubborn on me.
Here’s my battle plan:
| What I’m Doing | What I’m Seeing |
|---|---|
| Pressing grout into joints | Creamy lines filling every gap |
| Scraping off excess grout | Messy smears across the surface |
| Wiping with damp sponge | Clean tiles emerging, haze disappearing |
| Stepping back to admire | Unified floor, no more gaps |
I keep that damp sponge handy, wrung out and not dripping. Wipe while everything’s workable. Dried haze is difficult to remove once it sets, so clean it up the same day you grout.
Seal Grout and Cement Tiles to Prevent Stains
Once your grout cures, check the label for timing. Grab a quality sealer made for cement tiles. Picture this:
- Tiny droplets beading up like morning dew on a leaf, not sinking in
- That satisfying whoosh sound as you wipe excess sealer across velvety matte tiles
- Years from now, still seeing those crisp, clean grout lines at your dinner parties
Reseal every couple years. Spills happen; just hit them fast with pH-neutral cleaner. The sealer keeps everything looking fresh and prevents stains from setting into the grout and tile.