
I clear everything out first: bins, bikes, that weird lamp you forgot about. Then crack windows because concrete fumes and I are not friends. I sweep dry, spot the troublemakers: efflorescence, oil stains, maybe a mold corner judging me. pH-neutral cleaner in warm water gets tested in a hidden spot, then I scrub from the far corner out in ten-by-ten chunks with a stiff brush. I rinse with my shop vac sucking water toward the exit like a thirsty robot. Fans blast, I hunt moisture in shadows with my meter, and suddenly this cave feels almost civilized. A dehumidifier can fail when you need it most.
Clear the Basement and Size Up Your Concrete Floor

Where do we even begin with a basement floor that’s seen better decades? I’ve stood in that exact spot, surrounded by boxes I’ll “sort someday” and that funky smell we don’t discuss at dinner parties.
First, I clear everything from my basement: every storage bin, rusty bike, and holiday decoration. I can’t clean what I can’t reach. Then I throw open every window for ventilation and ensure open egress, because inadequate air circulation creates safety hazards.
Next comes the dry sweep, my favorite mindless task. I push a broom across the concrete floor, watching dust scatter. This reveals what I’m really working with: perhaps unsealed concrete that needs treatment, or stained concrete with visible marks. My surface inspection identifies the oil spots, the white powder (efflorescence), and the corners where mold is growing.
Pick a Cleaner for Unfinished Concrete and Dust Buildup

Now that I’ve got my concrete naked and exposed, it’s decision time on the soap situation. I used to grab whatever bottle looked industrial enough to feel serious about the job, which was a mistake.
Here’s what actually works for unfinished concrete with serious dust buildup:
- Start dry — I always do a complete dry sweep first, chasing those sneaky cobwebs into corners before they turn to mud
- Mix gentle — pH-neutral cleaner (think Ez Clean or mild dish soap) in warm water, nothing fancy
- Test everything — I hit a hidden test spot with my damp cloth, because stained concrete breaks my heart
For mold control, I’ll grab Concrobium if needed, but only after that test spot proves we’re compatible. A proper test prevents permanent damage to your concrete surface.
Scrub Your Basement Floor From the Far Corner Out

Why do I always start in the wrong corner? I’ve learned through experience. Now I begin at the far corner, pushing dirty water toward the drain instead of trapping myself in a soggy mess.
I work in sections, maybe ten-by-ten squares, because nobody wants dried cleaner streaks mocking their effort. I mix my pH-neutral cleaner. Test a hidden spot first, as sealed concrete can react unpredictably. Then I grab my stiff brush. The bristles bite into the basement floor, loosening years of mystery grime with satisfying resistance.
Scrub with purpose, not rage. Work that solution into every pore, then rinse thoroughly, guiding water downhill like a tiny river. Section by section, I claim territory. It’s methodical, it’s sweaty, and when I reach that final clean patch, I’ve actually accomplished something tangible.
Rinse and Pump Out the Dirty Water (No Drain Needed)
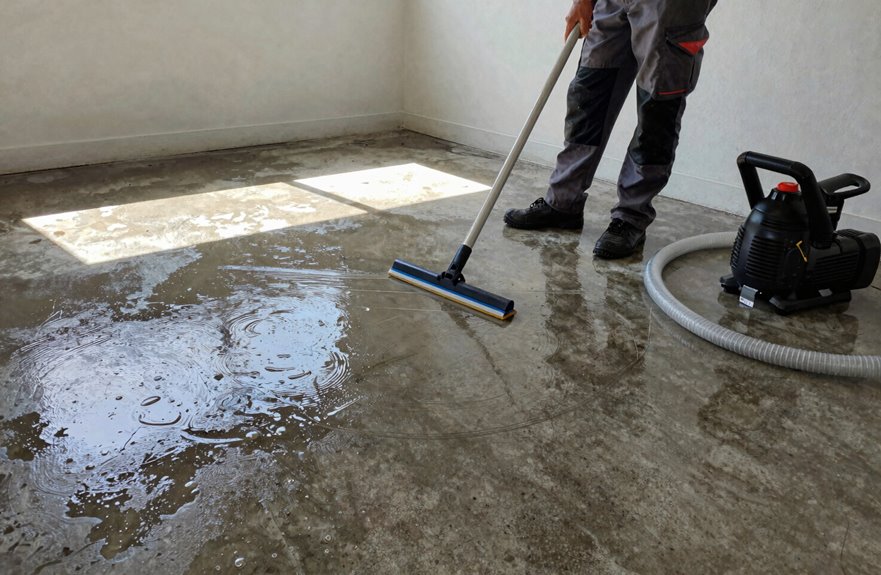
The rinse is where things get real, and by real I mean wet and messy. If you’re not paying attention, you risk serious water accumulation in your basement.
Here’s how to tackle it:
- Grab your wet/dry vacuum (or shop vac with a pump) and work in small sections, constantly moving to catch that dirty water before it pools.
- Pump out strategically by aiming hoses toward exterior exits or lower floors, keeping wastewater disposal far from living spaces. No drain. No problem. Plan your escape route.
- Extract immediately after each rinse, running that vacuum hard to pull moisture out fast. Less water means less odor, less mold, and less potential damage.
Don’t forget proper wastewater disposal and rinse your filter thoroughly. Removing standing water quickly prevents odor buildup and mold growth in your basement.
Dry the Floor Completely and Check for Hidden Moisture

Once that last puddle’s sucked up, I’m not done. I’m just getting started on the part that prevents your basement from becoming a science experiment gone wrong.
Basement floor drying isn’t glamorous, but it’s essential. I grab my shop vac, make repeated passes, then blast air movement with fans and open windows. This cheap dehumidification method actually works.
Hidden moisture loves corners, wall-floor junctions, and anywhere you’ve got stuff stacked. I move everything with no shortcuts. Porous concrete traps water like a sponge, so my drying plan includes multiple moisture check rounds.
Still unsure. Grab a moisture meter or spring for a calcium chloride test. Quantifying that residual moisture beats guessing. Your future sealed floor will perform better with accurate moisture data.