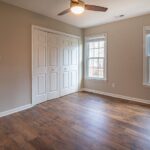

I run mine front-to-back, parallel to the longest wall, because it turns a choppy layout into one flowing journey without jarring stops at doorways. My cramped entryway finally feels expansive, like the floor itself invites you deeper into the space.
Though my 1920s pier-and-beam foundation required perpendicular planks for stability, so I compromised in the hallway.
My galley kitchen features boards running the short way, which makes it look twice as wide without requiring renovation.
I always lay sample boards first, chasing sunlight across the seams at different times. Perpendicular to windows exposes every imperfection. Light direction determines whether your flooring looks intentional or flawed. There’s much more to consider about when to break the rules with inlays, and why herringbone costs significantly more in wasted cuts.
Why Front-to-Back Flooring Works Best
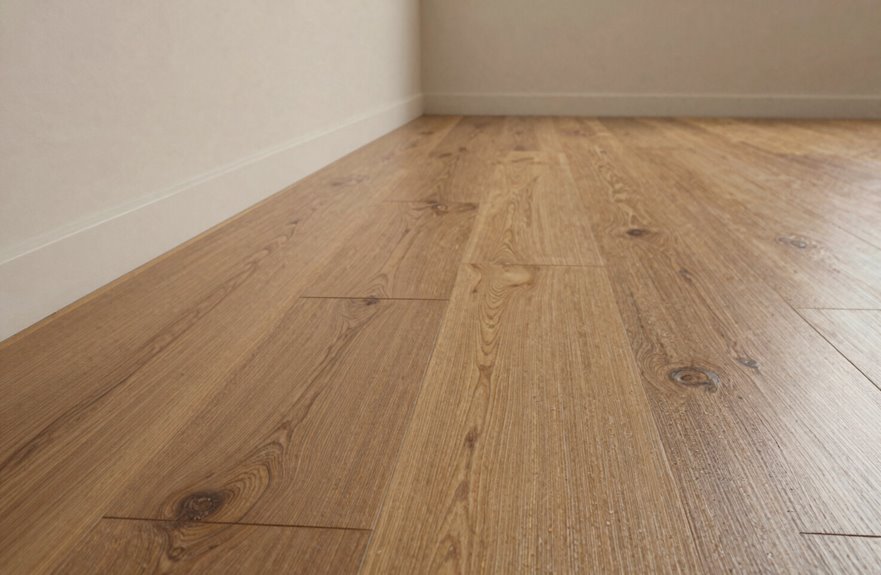
This direction transforms your home layout into a journey, not a maze. Cramped entries feel expansive, and awkward transitions disappear at thresholds. No choppy breaks, no jarring stops; just one beautiful, continuous invitation deeper into your space.
The bowling-alley effect from perpendicular installs creates visual confusion. Front-to-back flooring creates visual flow that reflects how you actually live, moving from greeting guests to gathering spaces without visual interruption. It’s cohesive and intentional, creating the foundation of a well-designed home.
When Your Foundation Picks the Direction
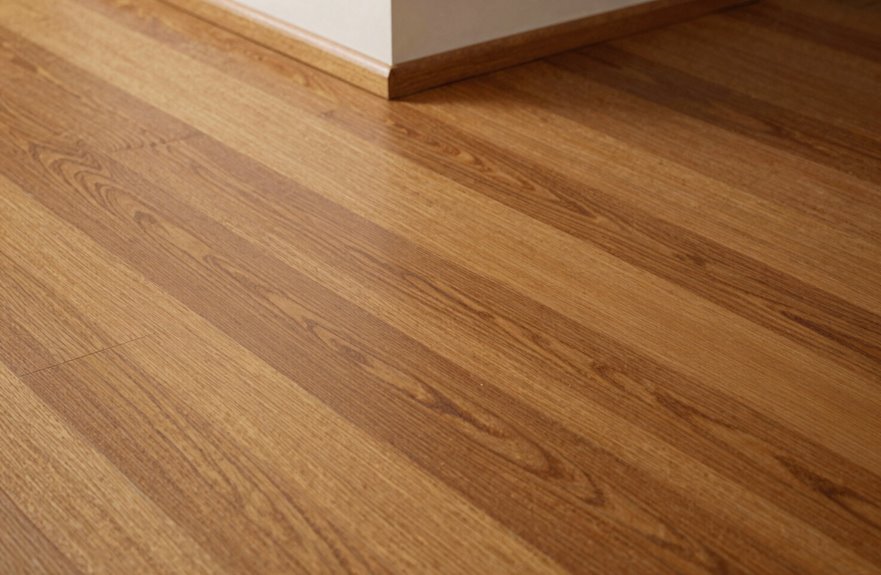
Sometimes I think my foundation’s got a bigger ego than I do, because it’ll straight-up tell me which way my wood floor’s got to run. When I’m working with pier and beam, those joists demand perpendicular planks for stability. No negotiation, or I’m asking for squeaky trouble. But slap me on a slab with engineered flooring and suddenly I’m the boss again, chasing that gorgeous sightline straight from the kitchen through the living room. And don’t get me started on feathering into existing floors, because matching that old oak’s direction can either save my sanity or force a creative transition that becomes the room’s accidental showstopper.
Joist Requirements Explained
Against all my aesthetic dreams, I’ve had joists absolutely wreck my vision for a perfect diagonal installation. Your foundation doesn’t care about your Pinterest board.
When you’re working with pier and beam, joist orientation becomes your boss, not your design partner. Solid wood demands perpendicular placement across those beams for real structural support. This is physics, not preference.
For a nailed floor, your spanning direction must hit joist spacing dead-on or you’ll get creaks, gaps, and regret. I’ve heard the complaints. New installs should follow that longest wall when possible, but sometimes the bones beneath force your hand. Feather into existing work when you must, but never compromise that nail hold. The floor will stay put when proper nailing standards are maintained.
Slab Foundation Flexibility
Where slab foundations rule, you finally get to breathe. No joists constraining your choices, dictating which way to point your planks. With engineered flooring on a slab foundation, the flooring direction becomes flexible rather than fixed.
Perpendicular versus parallel layouts offer minimal structural difference on slabs. Pattern flexibility means you can herringbone your hallway, diagonal your dining room, or keep it straight in the bedroom. Moisture and flatness require attention, but both are manageable concerns.
You can follow the light streaming through windows, or mimic how walls guide the eye room to room. This cohesion and flow creates spatial continuity. Slabs allow the flooring to integrate with the space rather than work against it.
Existing Floor Constraints
I thought I’d have total freedom with my slab, then I hit my first renovation project and learned the hard way. Existing floors don’t care about your Pinterest board. My gorgeous open-concept dreams crashed right into existing floor constraints, and suddenly I was playing detective with someone else’s choices.
My buddy’s pier and beam bungalow works differently. You’re often locked into perpendicular to joists for solid wood, no negotiation. The direction practically picks itself, whether you like it or not. Meanwhile, my slab with engineered planks felt like a blank canvas until I tried feathering into original oak in the hallway. Matching that direction saved me transitions, waste, and avoided a style clash.
Foundation type determines your options. Pier and beam narrows your choices. Slabs provide flexibility. But existing flooring demands attention. You’ll need to adapt your plans to work with what’s already there.
Narrow Room? Long Room? Shape Changes Everything
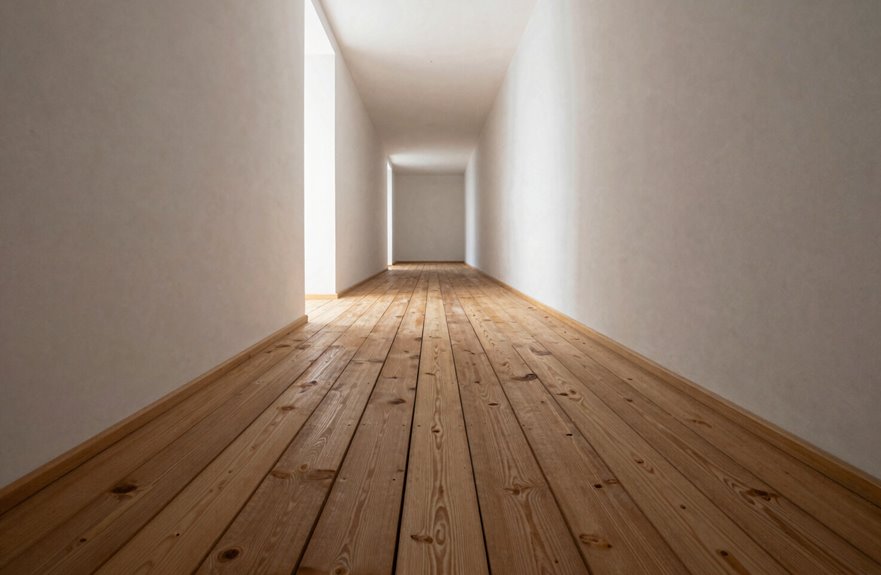
How dramatically does a room’s shape affect your flooring plans. I’ve learned this through experience.
In a narrow room, I’ll run boards parallel to the length, stretching that space like taffy. Flip them perpendicular, and suddenly you’re breathing easier, walls feel farther apart. For a long room, I’m hugging the longest wall, creating this gorgeous directional flow that pulls your eye through the whole stretch.
L-shapes and weird angles require careful consideration. I stick to one directional flow across connected spaces to avoid choppy transitions. Diagonal patterns can save awkward layouts, though they’re expensive and create significant waste. Room shape determines how successfully you can execute your flooring design.
Let Your Windows Decide: How Light Affects Hardwood Direction
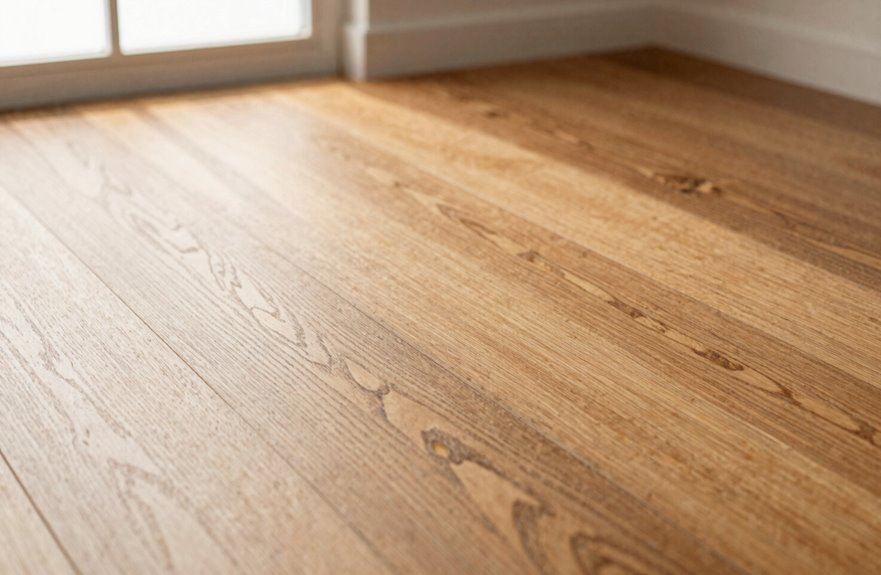
Light significantly affects hardwood flooring appearance, and board direction determines whether sunlight enhances or highlights imperfections. When planks run parallel to windows, sunlight creates a smooth, even appearance. Positioning planks perpendicular to windows makes every height variation visible. Test sample boards at different times of day to observe how natural light interacts with the wood grain and surface texture. Use these observations to select a board direction that produces the desired visual effect.
Sunlight Shadow Effects
Why does the same floor look flawless at 9 AM yet suddenly expose every tiny gap by sunset? I’ve stared at my own floors long enough to understand this mystery. It’s all about sunlight and shadows playing tricks on your eyes.
When you run boards parallel to your main light source, something happens. Those shadows disappear between planks, and your floor reads as one continuous, buttery surface. But flip that direction perpendicular to the window. Every joint becomes a tiny canyon by afternoon as sunlight marches across the room.
I learned this the hard way in my dining room, where boards facing the wrong way turned into a topographical map at 4 PM. Test your samples throughout the day. The right direction doesn’t just hide imperfections. It makes your whole space feel intentionally, beautifully connected.
Window Alignment Strategy
Where do you even begin with a room full of windows and a pile of planks staring back at you? Start with the light, always the light. Window alignment isn’t just designer jargon; it’s your secret weapon for gorgeous flooring.
Run your boards in the same direction as your primary lighting source, and those tiny height variations between planks become less visible. No more shadow lines catching your eye every afternoon.
For rooms with big, beautiful windows, direct boards parallel to that window wall. The natural light flows along those seams, making everything feel brighter and more open. The room itself gains visual spaciousness.
Watch out for side windows. Perpendicular direction to that sneaky sidelight exposes every grain pattern and seam. At 4 p.m., the effect becomes quite dramatic.
The solution: grab samples, lay them out, and preview them morning, noon, and evening. The changing illumination shows you everything about glare and whether your chosen direction actually works. Your future self will benefit from this testing.
Glare Reduction Tips
Now that I’ve got my boards lined up with those gorgeous windows, I’m ready to tackle the real enemy: glare. Bad direction turns your floor into a blinding mirror by noon.
Here’s how I keep my space glowy, not glaring:
- I run planks parallel to my main light source, so sunbeams skim the boards instead of bouncing straight into my eyes.
- I avoid perpendicular layouts near windows. That’s when every tiny shadow and height difference becomes visually prominent.
- I align with the longest wall when it matches the room’s natural light flow, creating that smooth, seamless look we all crave.
I always check samples at different times. Morning sun hits different than golden hour. I follow manufacturer specs for engineered pieces, because wonky transitions ruin everything.
When Horizontal Boards Widen or Shrink Rooms
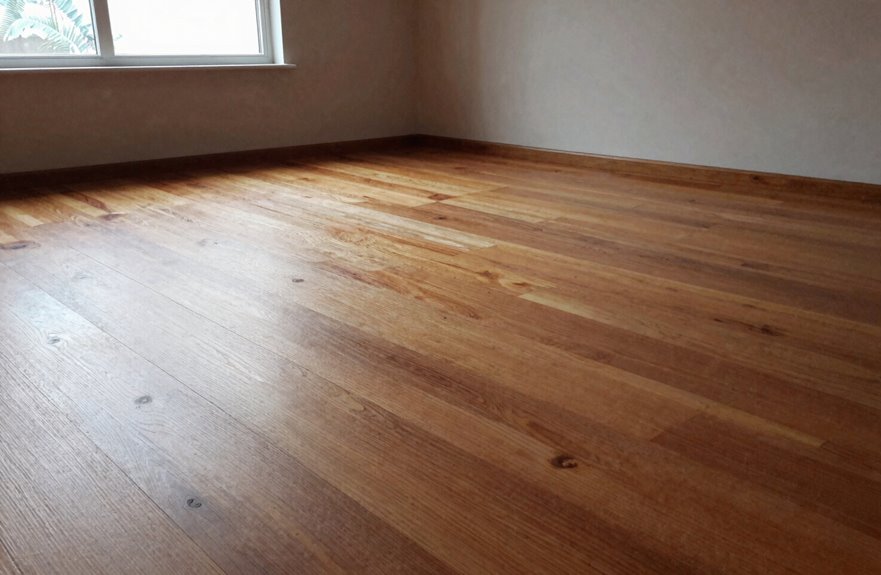
How dramatically can a simple direction change transform your cramped hallway or that awkward galley kitchen you’re dreading? When I run boards direction horizontally across a narrow space, I’m literally pushing those walls apart in your mind’s eye. The width suddenly breathes, room perception shifts from “claustrophobic corridor” to “inviting passage.” It’s like magic, except it’s just smart boards direction.
| Room Challenge | Horizontal Solution | What You’ll Feel |
|---|---|---|
| Long, skinny galley kitchen | Boards parallel to short wall | Space opens sideways, finally. |
| Dark hallway with side windows | Horizontal run catches light | No more shadow stripes, yay. |
| Open living-dining combo | Aligns with furniture flow | Everything belongs together |
| Entry with wide doorway | Emphasizes the welcome | Guests feel invited instantly |
I learned this the hard way in my own shotgun apartment. Direction matters.
Breaking the One-Direction Rule: Inlays and Borders
Horizontal boards work wonders, sure, but sometimes following the same approach gets repetitive. That’s where inlays and borders prevent flooring monotony. Direction changes transform basic rooms into showstoppers.
Here’s how to break rules without breaking budgets:
- Map everything first — I sketch pattern orientation across the whole space, because surprises waste wood and money
- Use borders as transitions between rooms, turning boards at doorways to hide dye lot mismatches.
- Plan inlays at focal points, like that fireplace you’re obsessed with, alternating directions for visual impact.
Professional installers know that careful layout prevents misalignment headaches. Higher-end installations demand this precision. The result is a floor that feels uniquely yours, with direction changes that showcase intentional design rather than monotonous repetition.
Herringbone, Diagonal, and Pattern Costs
Why settle for straight lines when your floor could be the main character? I went herringbone in my entryway, and guests literally stop, stare, and ask who I hired. It’s that kind of wow.
Pattern installations carry a significant cost premium. That gorgeous diagonal sweep across your living room requires more material due to angled cuts and waste that straight layouts avoid. Costs typically jump 20-30% before accounting for other factors.
Herringbone requires an experienced installer. Improper installation results in noticeably misaligned “V” patterns that remain visible for years. Random width planks in a pattern create beautiful results, but budget for unexpected expenses. Engineered hardwood works fine for most patterns; always verify manufacturer specifications. The investment pays off because your guests will notice the difference.
Test Your Wood Floor Direction Before Installing
Where exactly do you start when every direction feels like a commitment you can’t undo? Guessing leads to regret, so I always test my floor direction before a single nail hits the subfloor.
Here’s my mock layout ritual that prevents costly mistakes:
- I lay sample boards in every possible direction, stepping back to see how morning light dances across each one
- I check sightlines from doorways, making sure the long wall doesn’t fight my entry view
- I snap photos at different times, because shadows change throughout the day and lighting conditions shift
I map cuts, estimate waste, and if I’m connecting rooms, I simulate transitions with temporary boards. Choppy flow between spaces creates visual discord that’s difficult to ignore. This test takes an hour and prevents thousands in reinstallation costs. Your floor direction choice will be permanent, so verification before installation ensures the result matches your home’s layout and your expectations.