
I’ve battled every glue nightmare imaginable: lime-green construction adhesive that clung to my oak like a stubborn tenant, tar glue from ancient carpet padding, and hot glue strings from craft nights gone wrong. Start by softening the mess with a hair dryer or heat gun, then scrape at a shallow angle with a putty knife, letting the edge do the work instead of gouging downward. For stubborn patches, steam them with a wallpaper steamer or break down tar glue with cheap detergent. When there’s that hazy film left behind, dab mineral spirits on a corner first. I learned that lesson the hard way after one chemical choice dulled my finish permanently. Check your floor type before anything touches it, sand gently with coarse grit only when needed, and finish by buffing with a soft pad to restore the glow. I’ve made every mistake in the book so you can avoid them.
Soften Glue With Heat Before You Scrape
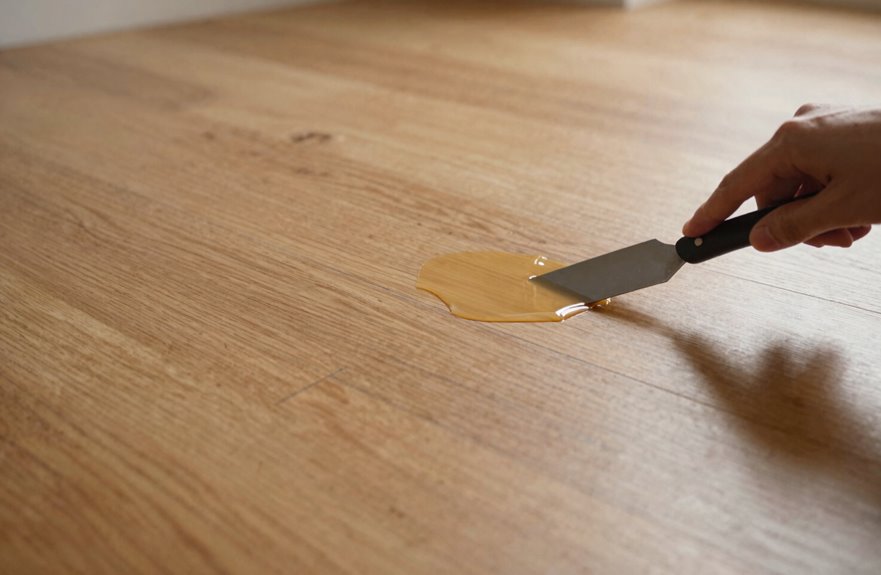
Why fight dried glue like it’s some kind of mortal enemy when heat does half the battle for you. I’ve learned this the hard way, believe me, huffing and puffing with a scraper before I discovered the magic of heat set glue removal.
Grab your hair dryer or heat gun, nothing fancy needed, and warm that stubborn adhesive until it softens like butter in July. Keep the heat moving, though. I’ve scorched oak trim before, and that smell of regret lingers.
Once it’s pliable, lift with your putty knife, working gradually. Thick spots need reheating rather than forcing. Ventilate well and wear a mask if you’ve used solvents; fumes aren’t your friend here. This patience approach works better than aggressive scraping and prevents damage to your floors.
Scrape at the Right Angle to Protect Your Floor
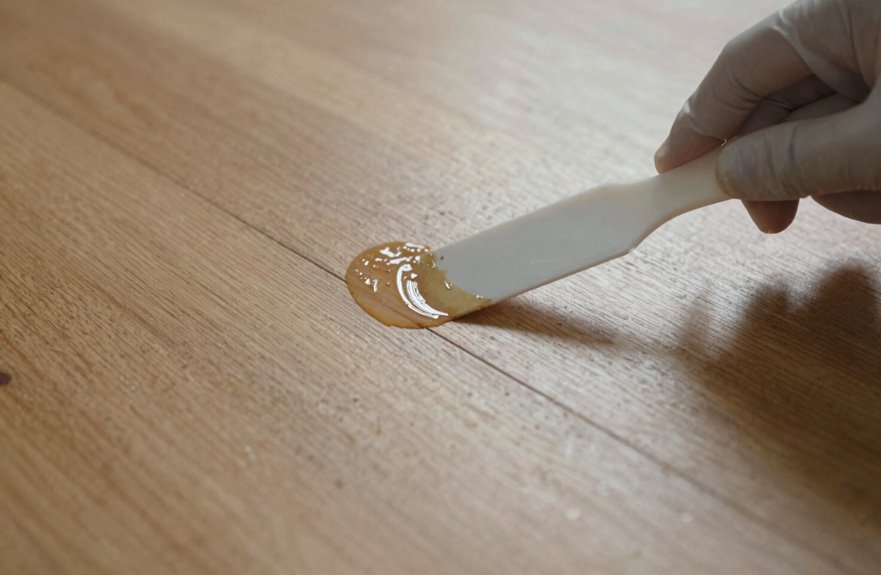
Three degrees of angle separates a clean floor from a disaster zone, and I learned that the hard way on my grandmother’s maple dining room. I pressed down hard with the blade perpendicular, and left a canyon she’d have noticed from heaven. Now I know: shallow scraper angle, no downward pressure, let the edge do the work while you glide.
I start with my rigid scraper on a powered tool, moving fast, clearing glue piles before doubling back. Missed spots happen, so revisit them gently. Wear goggles and ear protection. Flying glue bits sting, and that motor screams.
Fatigue makes us sloppy. If you gouge deep, don’t panic. Flag it for later sanding. Everyone makes these mistakes, and your floor will recover.
Steam Away Stubborn Adhesive Patches
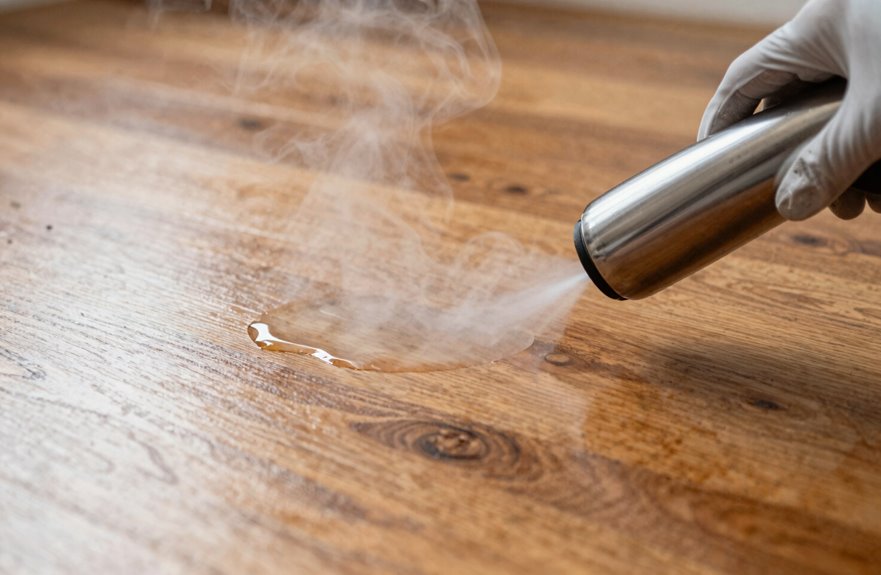
How many times have I stared at a dark, gummy patch of old adhesive and wanted to just paint over it? Too many. A plain wallpaper steamer works effectively on stubborn cutback adhesive. The heat penetrates that gunky layer, loosening it from the wood grain without harsh chemicals that produce eye-watering fumes. Watching that glue bubble and soften is satisfying.
I keep the room ventilated, learned that necessity the hard way, and I’m careful not to blast one spot too long. Nobody wants scorched floors. Once the adhesive yields, I grab my putty knife and lift that softened mess right off. If it doesn’t cooperate completely, I switch to gentle scraping. The method is clean, environmentally friendly, and produces reliable results.
Break Down Tar Glue With Cheap Detergent
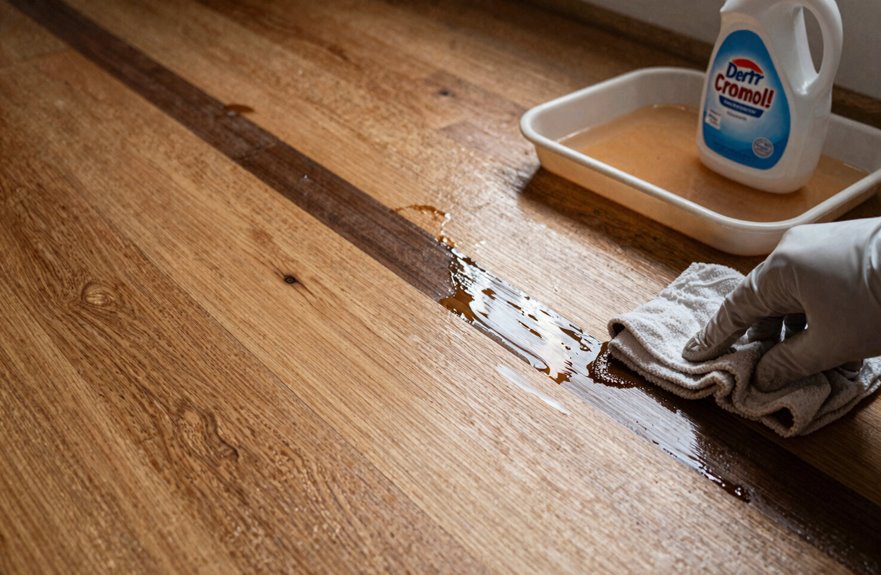
A bottle of cheap laundry detergent works effectively for removing tar glue, and it costs just a dollar.
Squeeze a small puddle of that dollar-store detergent right onto the black, gummy mess. The grease-fighting formula starts working immediately, softening that stubborn tar. After ten minutes, scrub with a stiff brush, watching the glue surrender in chunks.
This detergent trick protects your floors from harsher chemicals. Scrape the softened residue, wipe clean, and the tar glue removal is complete. The cheapest solution often proves most effective.
Dissolve Leftover Film With Small-Amount Solvents
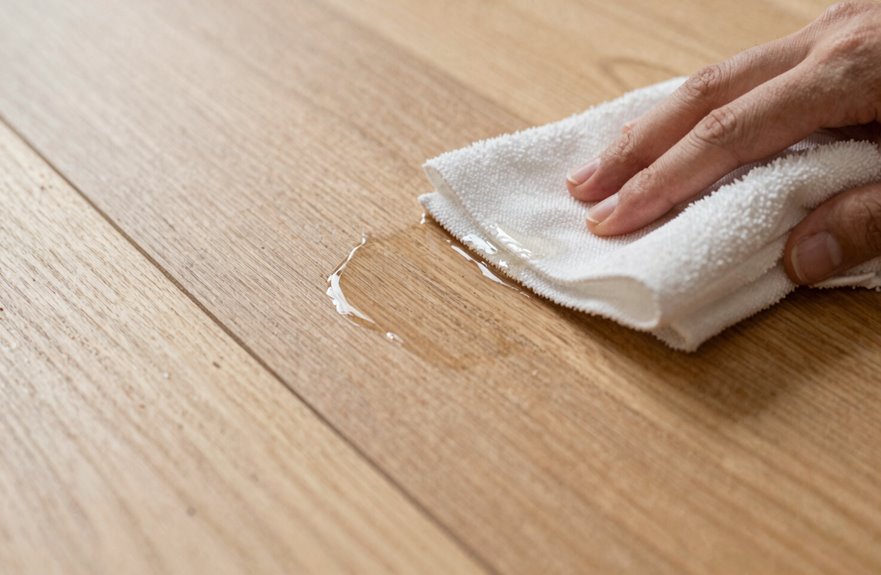
I’ve learned the hard way that picking the right solvent—paint thinner for stubborn tar, mineral spirits for that wispy, almost-invisible film—makes or breaks this whole operation, so I’ll walk you through how I test a corner first, wait ten minutes, then scrub with the grain before wiping clean. You’ll want to crack every window and grab a proper respirator, because a bandana will not provide adequate protection. Those fumes are hazardous even when using small amounts. Repeated applications can cause a finish to turn cloudy, so limit your exposure to avoid needing to sand the surface afterward.
Solvent Selection Criteria
When you’re staring down that stubborn, filmy residue clinging to your beautiful oak planks like a bad houseguest, what solvent you grab matters. Not all cleaners work well with hardwood finishes.
I always reach for low-volatility options that thinly penetrate glue without stripping away years of protective coating. Mineral spirits work beautifully, though paint thinner does too. Crack a window because those fumes are strong. I test on a hidden corner first every single time, since nobody wants a cloudy patch where their floor used to shine.
Here’s my quick reference for fellow floor rescuers:
| Solvent Choice | Why It Works |
|---|---|
| Mineral spirits | Gentle on finish, dissolves adhesive film |
| Low-volatility products | Minimizes fumes, safer for enclosed spaces |
| Paint thinner | Effective, but requires serious ventilation |
| Brief application (5–10 min) | Prevents finish damage, lifts glue cleanly |
Skip the foam pads. I’ve watched them spread gunk everywhere. A simple damp cloth wipes away softened residue without the drama.
Application Technique Tips
Once you’ve picked your solvent, the real magic happens in how you apply it, because applying too much will work against your goals. For adhesive removal that respects your floors, follow this approach:
- Dab a whisper-thin film onto the gunky spot. Think morning dew, not flash flood.
- Let it sit and soften for ten minutes. Set a timer and allow the solvent to work.
- Wipe with a clean rag, quick water rinse, done.
Always test hidden corners first. Applying too much solvent can dull wood finishes like my grandmother’s oak. For stubborn residue, apply a fresh tiny dab, never pool. This careful method preserves your floor’s character.
Safety Precautions Required
Why risk a gorgeous floor over something as fixable as glue residue? I learned solvent safety the hard way; one dizzy afternoon without a mask taught me plenty.
I apply small amounts to hotspots only, wait five to ten minutes, then let the solvent do the back-end work. No gouging. I ventilate like crazy, wear my respirator (yes, I look ridiculous, no, I don’t care), and finish with damp-then-dry wipes.
| Safety Step | Why It Matters |
|---|---|
| Ventilate the room | Fumes hit fast |
| Wear a respirator | Your brain cells thank you |
| Apply sparingly | Saves your finish from ghost patches |
| Wait 5–10 minutes | Patience beats elbow grease |
| Damp-to-dry wipe | No slippery surprises later |
Follow these steps to protect your health and maintain your floor’s finish.
Sand Leftover Glue With Coarse Grit Paper
I grab my 12-grit belt, that angry, toothy monster that chews through glue like it’s popcorn. This isn’t delicate work; it’s a brawl. You’ll want to keep that sander moving, always moving, because linger too long and you’re digging moon craters into your beautiful oak. When the paper gums up black and sticky after thirty seconds, that’s just the glue throwing a tantrum, so swap belts often, laugh at the mess, and remember we’re aiming for “mostly gone,” not museum perfection.
Grit Selection Guide
How exactly do you tackle that stubborn glue still clinging to your gorgeous hardwood after all that scraping? I’ve been there, staring at those gummy patches, wondering if I’ve ruined everything. The right grit selection determines your adhesive removal success.
For this job, you’ll want to grab coarse paper, specifically 12 or 16 grit. I learned this the hard way after burning through three sheets of the fine stuff as an amateur. Here’s my quick breakdown:
- Floor sander with coarse belts – your heavy-hitter for big patches, strips glue without always killing the finish
- Palm sander with scouring pads – handy for corners, though kinda slow
- Random orbit sander – my compromise pick when I’m feeling indecisive
Scrape first, sand second, and you can skip chemicals entirely.
Sanding Technique Tips
Where exactly do you position that sander so you don’t accidentally obliterate your floor’s personality? I’ve learned the hard way: start with coarse belts, 12- to 16-grit, and let the machine do the heavy lifting on those stubborn adhesive patches. Floor sanders are the appropriate choice for serious glue removal; palm sanders lack the power for this job. I focus my pressure right on the glue spots, working around the varnish carefully. If I hit patchy spots, I swap in a fresh belt immediately. Over-sanding burns wood, and that results in a dull, damaged appearance. You’ll probably need a recoat later, but this method produces superior results.
Check Your Floor Finish Before Using Chemicals
Before you grab any chemical, here’s what we need to do together:
- Spot-test like a detective. Dab that cleaner on a hidden corner, wait 24 hours, and watch for discoloration or weird texture changes.
- Know your finish type. Polyurethane laughs at water-based cleaners, but solvent-heavy removers will strip it faster than you can blink.
- When confused, go gentle. Use mechanical methods, mild approaches, and patience over panic.
Your floor’s finish needs protection. Use these steps to remove that glue without damaging the surface.
Clean and Buff After Glue Removal
Once I’ve scraped off that stubborn glue, I continue with a final surface residue check, running my hand across the boards carefully to catch any spots I missed. Then I grab a soft buffing pad to bring back that warm glow. I sometimes add a thin protective coating afterward to seal the surface and keep my floors protected.
Final Buffing Steps
Though you’ve scraped and scrubbed until your arms feel like noodles, there’s still one last sprint to the finish line: final buffing, the step that transforms your floor from “mostly clean” to “actually gorgeous.” I learned this the hard way after spending three hours on my knees with a plastic scraper, only to stand up and realize my dining room looked like a patchwork quilt of dull spots and sneaky glue ghosts.
Here’s how I finally nailed it:
- Grab a floor buffer with 120-grit, light enough to smooth without wrecking your finish
- Spot-check under bright light, re-buffing only stubborn patches. Your knees will appreciate the reduced work.
- Vacuum thoroughly, then damp-wipe before any recoat
Move in small, overlapping sections. Swirl marks will compromise your results. Your hardwood floors will show the difference this final pass makes.
Surface Residue Check
How do you know you’re actually done when every square inch looks suspiciously the same after hours of scraping? I’ve been there, squinting at shadows that might be glue or might be my imagination.
After glue removal, I run my surface residue check like a detective. I scan for hazy patches, suspicious shine, anything tacky underfoot. Your floor shouldn’t grab your socks. I buff with a clean microfiber cloth, feeling for stickiness; if the cloth snags, I’ve found my culprit.
For lime-green urethane haze (the worst), I dampen a corner with mineral spirits, wipe, and dry fast. No puddles. Sometimes I re-scrape a test patch, comparing treated versus untreated sections side by side. Document everything. Catching residue now prevents problems later.
Protective Coating Options
I’ve spent way too many nights on my hands and knees, microfiber cloth in hand, chasing phantom glue spots across my floor like some kind of hardwood detective. Nothing beats that moment when you finally realize the floor is actually clean. Bare wood, even spotless bare wood, is vulnerable to damage and staining.
That’s why I always seal the deal with a protective coating. Here’s my go-to routine:
- Test first – dab your finish in a closet corner, because surprises belong in birthday parties, not flooring.
- Buff with polyurethane – it restores that gorgeous sheen and creates armor against future cleaning solvents.
- Wait it out – 24 to 72 hours of curing prevents furniture-shaped damage.
This step transforms your floor from vulnerable to protected.
What Kind of Glue Are You Dealing With?
Before you grab a scraper and go to town, figure out what sticky mess you’re actually wrestling with, because not all glues play by the same rules. Urethane-based adhesives dry into stubborn, rubbery mountains; sometimes they reach nearly 1/8 inch thick on vinyl-backed flooring, making your beautiful hardwood practically unwalkable. Then there’s that sneaky lime-green residue from generic adhesives in Mannington coatings, which loves to haunt your finish. You may find yourself staring at hazy freckles where tape pulled up, wondering what damage awaits. Cheap solvents like mineral spirits might tackle some gunk, but those fumes require serious ventilation. Your adhesive’s thickness and chemistry determine everything: whether you’re scraping, heating, or sanding.
When Glue Removal Needs a Pro
Why beat yourself up wrestling with gummy, ancient adhesive when a pro can save your sanity and your floor’s finish. I’ve learned the hard way that some adhesive removal jobs demand backup, and there’s no shame in calling for reinforcements.
Here’s when I wave the white flag:
- The glue’s older than my favorite vintage band tee – layers upon layers, stubborn as a mule, laughing at my scraper.
- My finish is gorgeous, irreplaceable, and I’m terrified of sanding through that honey-toned patina I spent years cultivating.
- The room’s a maze of furniture, vents, and precious trim – pros wield dust containment systems like magic wands, protecting every corner.
Contractors assess, then strategize: mechanical sanding, spot chemicals, or both. They preserve finishes I’d accidentally destroy. Outsourcing this work prevents costly damage to your flooring.