I’ve hung enough drywall to know it’ll test your patience, your marriage, and your lower back before lunch.
Start at the ceiling with a helper or lift, then run sheets horizontally to reduce taping work significantly.
Screw from the center outward to prevent those ugly bows, and hang full sheets before cutting around windows and doors.
Measure twice to avoid errors.
Leave a half-inch gap at the floor because moisture can seep through, and baseboards will conceal this gap.
A plywood strip trick can improve your installation process.
Start Drywall Installation at the Ceiling With a Helper or Lift
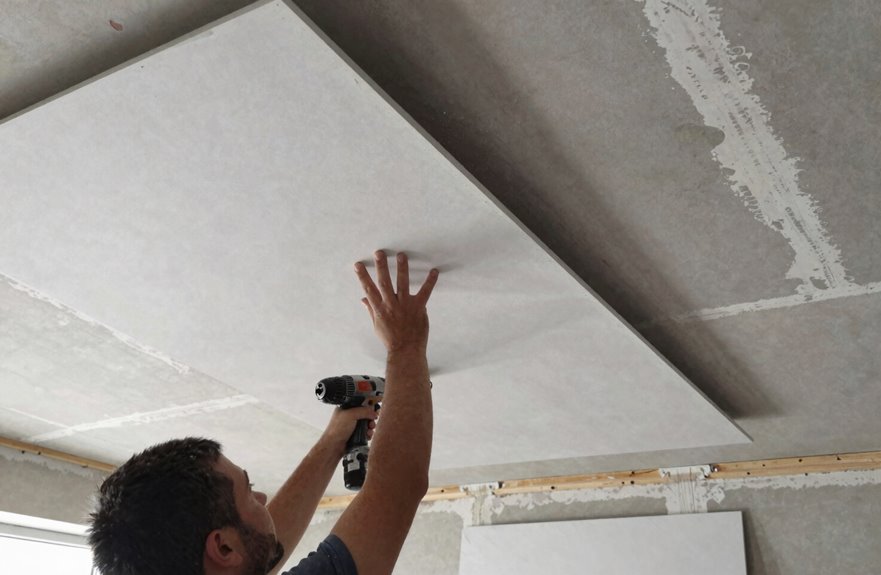
Where do I always begin when I’m staring at a room full of bare studs and big dreams? The ceiling, friend. Always the ceiling start. Gravity’s already working against us, so why fight it harder than we must?
Drywall installation goes smoother when you’re not playing Twister with eight-foot sheets. Grab a helper or lift. Your back will thank you tomorrow. I tack the sheet first, feel that satisfying thump as it seats against the joists, then drive screws every sixteen inches once we’ve got her plumb.
Full sheets first, always. I measure twice around windows and outlets, muttering apologies to my tape measure for the abuse. There’s something almost meditative about that dry setup; holding breath while your buddy braces tight, both of us knowing this ceiling will look spectacular.
Hang Drywall Horizontally to Halve Your Taping Work
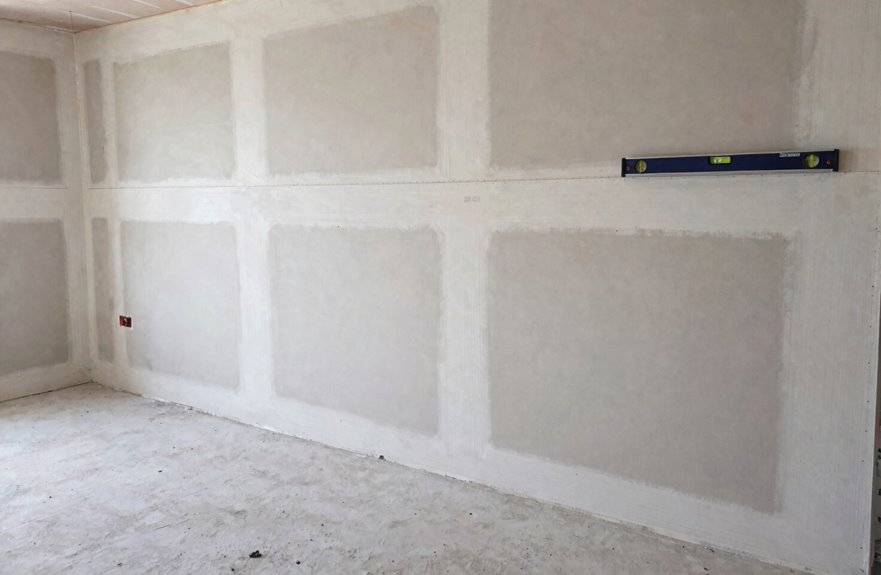
Why fight more seams than you absolutely have to. I learned this the hard way. Horizontal mounting changed everything for my drywall installation game.
Running sheets sideways means those long vertical seams land in corners, out of sight, while cross seams practically vanish. Fewer joints, less taping, less mudding, less sanding. I pair this with 16-inch studs, edges landing clean, and stagger those seams so nothing lines up ugly.
I start with full sheets, use a lift (my back thanks me), push flush to the ceiling. We still need that floor gap, about a half-inch, for moisture and baseboards. Don’t skip it. I’ve seen what happens, and it isn’t pretty.
Screw Drywall From the Center Out to Prevent Bows
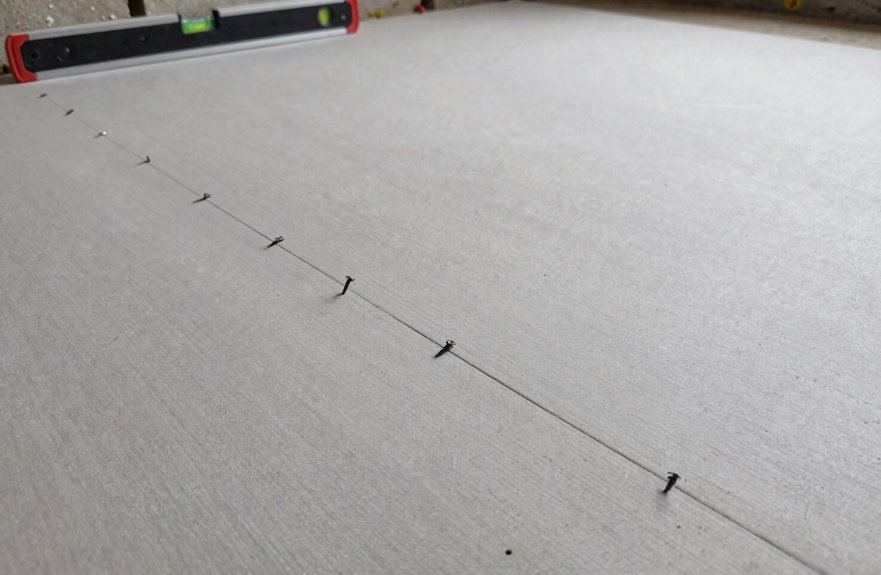
Once that horizontal sheet is up there, flush to the ceiling with that half-inch floor gap sorted, you’re ready for the next step. Drywall installation depends on your screw pattern. Center-out screwing is essential. Start in the middle of that panel and work outward toward the edges, smoothing the sheet flat against the studs. Preventing bowing is a critical technique; sheets warp when this step is rushed. That center pressure locks the panel flat against studs before you commit to perimeter screws. Keep them 16 inches apart, tack your first full sheet level, grab a buddy or lift so nothing bends, and you’ll get that straight edge required for a quality finish. This prevents visible humps that catch shadows.
Cut Window and Door Openings After Hanging Full Sheets

Because I learned this the hard way after butchering a perfectly good sheet around a bedroom window, hang that full drywall panel first, then cut your openings. Drywall openings look cleaner when you’ve got that solid backing.
I grab my drywall lift, hoist that full sheet into place, and mark my window cutouts right on the surface. No more guessing, no more gaps you could stick your finger through. For rough openings, I cut oversize, then trim after the studs go in; this saves significant time and reduces mistakes.
Pop off that trim, grab your router or drywall saw, and slice smooth edges that’ll make your mudding life easier. Plan everything before taping, but only cut once the sheet’s locked down tight. Hang full sheets, cut second, and move forward with the work.
Leave a ½-Inch Gap Between Drywall and Floor for Moisture Protection

I used to butt my drywall right against the subfloor like a total rookie, until I pulled off baseboards in a bathroom and found that black, fuzzy horror show creeping up from below. Now I always leave a ½-inch gap between drywall and floor for moisture protection, and it’s effective.
That gap stops water from wicking upward, and it saves your walls from mold, rot, and damage. I slip a plywood strip underneath as a spacer. This gives me a clean nail line for trim and keeps everything straight.
Plus, that little gap lets materials breathe, expand, and contract without cracks or problems. Your baseboard molding hides it completely, so the gap remains invisible.