I’ve installed hundreds of these things. Check for arrows or “THIS SIDE UP” text first; manufacturers literally print the answer right there. No labels? Run your hands across both surfaces. The rougher, grippier texture hugs your hardwood or tile floor so nothing slides around, while the smoother side faces up to cradle your rug. Spot a shiny plastic film? That’s your moisture barrier, and it always points skyward to block dampness from below. For felt pads, flip that rule: soft side down, firm side up. I once spent an entire afternoon wondering why my rug kept migrating across the living room. Turns out, I’d treated my pad like a pancake and just guessed. Take thirty seconds to feel both faces and align your edges with doorways before the rug arrives. This simple step prevents installation mistakes. Multiple pad types and floor-specific requirements exist to optimize your installation.
How to Tell Which Side of Your Rug Pad Faces Down
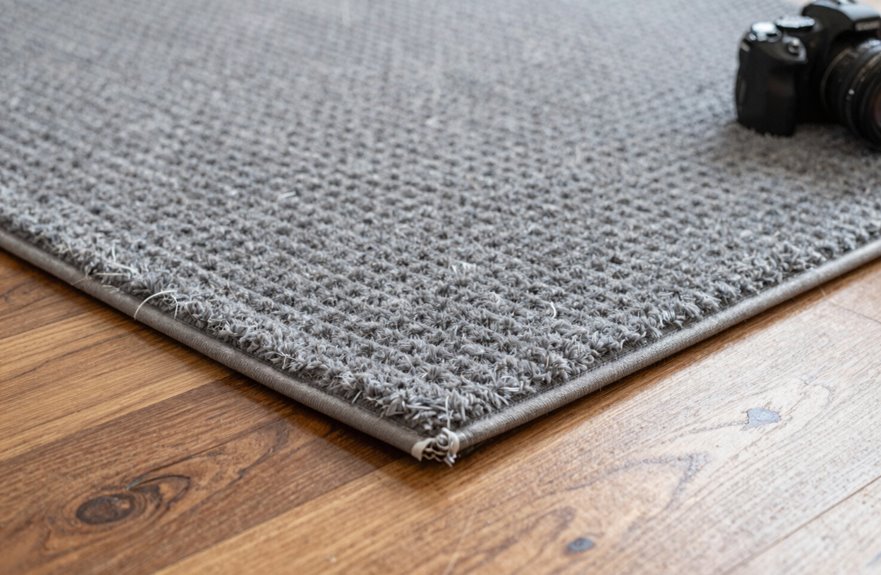
How do you know which side of that rug pad actually belongs on the floor? I’ve wrestled with this myself, staring at what looks like two identical beige rectangles.
Staring at two identical beige rectangles, wondering which side belongs on the floor? I’ve wrestled with this too.
Here’s what I’ve learned about carpet pad orientation. First, run your hands across both surfaces. The smoother side faces up, cradling your rug, while the rougher, grippier texture becomes your down-facing side. That roughness grabs your hardwood and prevents sliding.
I also hunt for color clues. One side often looks more finished and more uniform. These subtle differences are manufacturer cues indicating correct placement.
Finally, do the slide test. Whichever side resists your push gets the floor treatment. Your fingers and eyes will guide you to the correct orientation.
Start With the Manufacturer’s Label or Markings

The manufacturer’s label is your first stop for carpet pad orientation. Hunt for that manufacturer label before unrolling anything, as it provides essential guidance on proper installation.
Look for these indicators: arrows pointing up, text stating “THIS SIDE UP,” or color cues. Some pads have moisture barriers built right in. The protective layer should face your rug, not your subfloor. The up/down guidance prevents installation errors and eliminates uncertainty later.
Markings on the label provide the correct information for proper installation the first time. Double-checking these details prevents costly mistakes.
Feel the Difference: Smooth Side Up, Rough Side Down
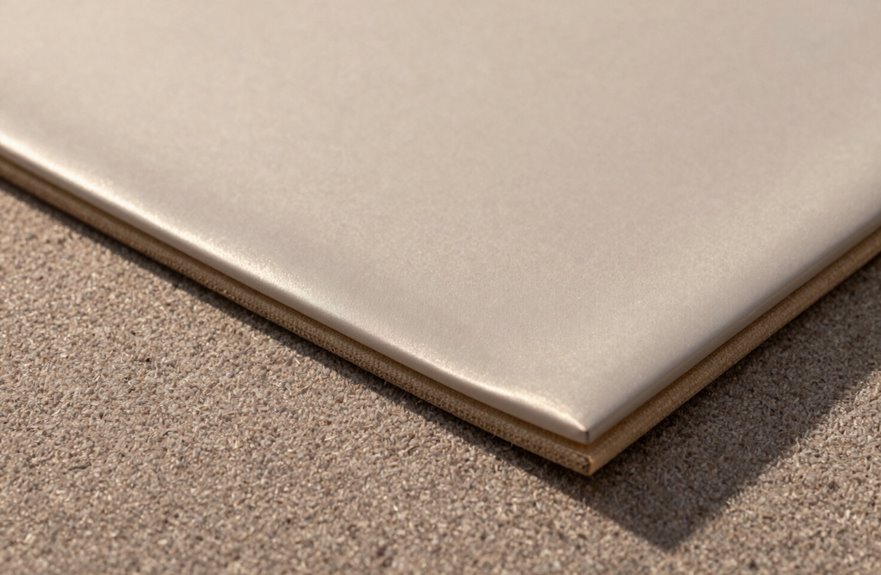
Why fumble with labels when your fingertips can tell you everything. I learned this the hard way, crawling around my living room like a detective with a magnifying glass. Here’s what I’ve discovered about installation orientation:
- The carpet pad smooth side up lets your feet glide, no bunching, no weird lumps under your toes
- Rough side down grips the floor like Velcro, so you’re not chasing your rug across the room
- Color cues help when you’re squinting at mystery pads; darker usually means business side down
- Memory foam’s tricky, but when in doubt, smoother up wins for that cloud-walk feeling
I’ve installed pads wrong, felt the regret with every step, fixed it, and now I’m passing the wisdom on. Most people encounter this problem firsthand.
Check for Moisture Barriers (They Face Upward)
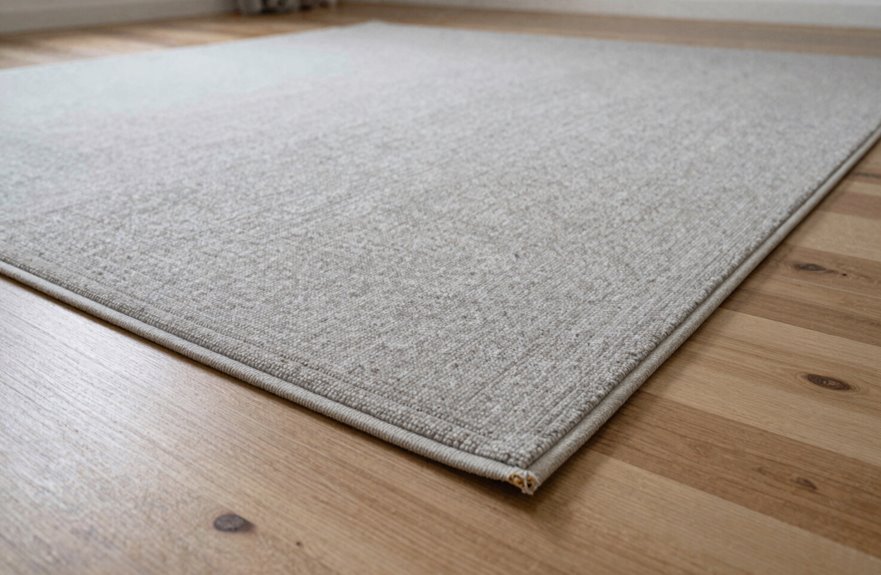
Moisture barriers are the unsung heroes of carpet padding. I nearly ruined my basement install by ignoring them completely. I’d flipped my pad wrong-side-down, and within weeks, musty smells crept through my beautiful rug. A total nightmare.
Now I always check for that shiny, plastic-like film. Moisture barrier up, always up. This carpet pad orientation blocks dampness from seeping into your fibers, keeping mold and mildew from growing underneath. Rug padding protection isn’t just marketing fluff; it’s your insurance against soggy disaster. Proper placement helps your pad stay fluffy longer, with no compression from trapped humidity. Double-check those manufacturer labels though. Some brands get tricky with their layering.
How to Orient Felt Rug Pads

My first felt pad disaster was a real doozy. I laid that fluffy cloud of wool with the cushy side up, thinking I was giving my vintage kilim the VIP treatment, and within a month my rug had developed this weird, matted flat spot right where my desk chair rolled. Turns out, I’d blown the carpet pad orientation completely.
For felt rug pads, follow these essential guidelines:
- Soft side down, always. That’s your cushion protection against the hard floor.
- Firmer, smoother side up. It cradles your rug fibers effectively.
- Spot any underside liner? That’s your roadmap, follow it religiously.
- Multi-layer mystery? Manufacturer labels are your lifeline, don’t guess.
Get this right, and your rug stays plush, your floor stays protected, and you’ll have properly oriented your felt pad.
How to Orient Rubber and PVC Rug Pads
Felt pads were my gateway drug, but rubber and PVC taught me that orientation matters.
Felt pads were my gateway drug, but rubber and PVC taught me that orientation matters.
For rubber rug pads, flip the grip pattern side down toward hardwood. Those little nubs bite into the floor like tiny fingers, keeping everything locked in place. The smoother, softer surface faces up, cradling the rug.
PVC pads work differently. The soft side goes down, and the textured pattern faces up, creating airflow and traction. This counterintuitive approach prevents slipping.
When a moisture barrier exists, that shiny protective layer faces upward, shielding the pad from dampness rising from below.
When textures are confusing, look for arrows or labels. Manufacturer guidance provides the correct installation method every time.
How to Orient Memory Foam and Multi-Directional Pads
I’ve wrestled with memory foam pads that felt confusing due to lack of labels, just squishy beige rectangles. If there’s a felt or rubber underside liner, that grippy layer hugs your subfloor while the smooth top cradles your carpet. Some multi-directional pads truly don’t care which way they face. When in doubt, flip them like a pancake, inspect both sides, and let the manufacturer’s instructions be your final word. Guessing wrong means starting over, which wastes time and effort.
Memory Foam Orientation
How do you know which way to flip a memory foam pad when both sides feel like a cloud had a baby with a marshmallow? I’ve learned through installation mistakes.
Check your memory foam orientation by hunting for the underside liner, that felt or rubber backing that changes everything. I’ve installed pads wrong, watched rugs slide like they’re on ice, and can help you avoid that outcome.
- Flip that underside liner toward the floor, soft side up, always
- No liner? Your installation direction becomes wonderfully flexible
- Your rug grips better, your floor breathes easier. Everyone wins
- When confused, read the label. Seriously, I used to skip this.
My personal rule: liner down, fluff up, coffee close by. You’ll get the results you need.
Multi-Directional Pad Placement
Where exactly does a multi-directional pad land when there’s no liner bossing you around? I’ve wrestled with this myself, staring at a memory foam pad like it’s a riddle. When there’s no underside liner, you’ve got freedom, but also responsibility.
| Pad Type | Visual Cue | Your Move |
|---|---|---|
| With underside liner | Felt or rubber backing | Liner down, always! |
| No liner, soft vs. textured | Smooth side up, pattern down | Follow your fingers! |
| Truly identical faces | Check manufacturer tags | When in doubt, softer side up! |
These orientation guidelines saved my living room install. Follow the texture and check your gut, and you’ll get the installation right.
How to Orient Jute and Natural Fiber Pads
I learned the hard way that jute pads aren’t reversible. After one too many rugs sliding across my hardwood like it was an ice rink, I finally figured out the correct orientation. Rubber backing goes down, always down, hugging that floor with strong grip. The soft, fibrous top side faces up, cradling your rug like a nest. This combination of stickiness plus cushion prevents slipping and provides support. Check for any manufacturer labels first. I once spent twenty minutes squinting at a “this side up” tag that turned out to be a care instruction.
Rubber Backing Placement
You know that heart-dropping moment when your gorgeous jute rug decides to stage a slow-motion slide across your hardwood floor. I’ve been there, coffee in hand, watching disaster unfold. That’s exactly why carpet pad orientation matters so much with natural fibers.
Here’s what I’ve learned about getting that rubber backing placement right:
- Place the rubber backing down against your floor for maximum non-slip grip
- Let that rubber absorb impact and protect both your rug’s underside and your precious floors
- If your pad shows two tones, keep the smoother side facing up while rubber hugs the floor
- Always check manufacturer instructions since natural fiber pads can vary
Once you nail this orientation, your rug will stay in place and won’t shift across your floors.
Soft Side Positioning
Getting that rubber side locked down is only half the battle, because now we’ve got to talk about what happens on top. Carpet pad orientation matters significantly, especially with jute and natural fiber pads. Always go soft side up. That fluffy, natural surface cradles your rug like a cloud, giving real rug protection against the daily grind of footsteps. Flip it wrong, and you’re sliding around like you’re on an ice rink, with zero cushioning, zero warmth, and just sad, crunchy disappointment underfoot. If there’s felt involved, felt goes down toward the rug, rubber kisses the floor. Your feet and your vintage kilim will benefit from getting this right.
Choose the Right Pad for Hardwood and Laminate Floors
How do I keep my gorgeous oak floors from looking like a skate park after six months under a rug? Carpet pad compatibility isn’t just jargon; it’s survival. For hardwood flooring protection, always choose pads that cushion without sticky adhesive, because nobody wants finish stripping as a souvenir.
Carpet pad compatibility isn’t just jargon; it’s survival for your gorgeous oak floors.
Laminate flooring requires careful consideration too. Moisture sneaks in, finishes wear down, and suddenly your floor needs help. Hunt for floor-type specific categories like a detective, because generic pads are a total gamble.
Here’s my battle-tested checklist:
- Cushioning that hugs your rug without suffocating it
- Non-slip grip that actually grips
- Moisture barriers for laminate’s sensitive needs
- Adhesive-free construction so your finishes stay protected
Your floors deserve proper protection.
Choose the Right Pad for Stone, Tile, and Carpeted Floors
Why does my marble entryway always look like a disaster zone by Tuesday morning. Because I used the wrong pad, friend, and I’m betting you’ve been there too.
Stone and tile floors need serious floor protection, not just any grippy thing from the discount bin. I’ve learned the hard way. Moisture sneaks under, etches that gorgeous finish, and suddenly your investment looks like a diner bathroom. Rubber backing faces down, always, per pad backing guidelines. That pattern side grips the stone and keeps everything anchored when your dog skids around the corner.
Carpeted floors require the same attention to detail, with different requirements. We’re stopping wrinkles and preventing that bunched-up look underfoot. Carpet pad orientation matters; softer side up, firmer side down, check those manufacturer specs. They categorize by floor type for a reason, and I follow them now, no exceptions.
Prepare Your Floor Before Laying the Pad
Where do I even start when I’m staring at a room crammed with furniture and that old rug I should’ve tossed years ago? Proper floor preparation saves you from the headache of redoing everything later.
Here’s my battle-tested checklist:
- Drag every stick of furniture out, yes, even that heavy dresser I’ve been ignoring
- Sweep and vacuum thoroughly. Dust causes bumps under the pad
- Double-check for damp spots. A moisture-free surface prevents mold growth
- Map out carpet pad orientation now, before you’re trapped in a corner
Skipping prep means crooked rugs and sliding pads. Take the extra twenty minutes. You’ll have a pad that lays flat and stays in place.
Unroll and Position Your Pad in 4 Steps
With the floor swept clean and that stubborn dresser finally out of the way, I’m ready to wrestle this pad into place.
First, I unroll my carpet pad, checking orientation immediately. The rougher, textured side grips the floor while the smoother surface faces up. I’ve installed one backwards before, and it compromised the installation.
Second, I align edges with doorways and room flow, matching any rug direction before the top layer arrives. Third, if my pad has a moisture barrier, that shiny protective layer faces upward with no exceptions. For memory foam types, I follow the manufacturer liner guidance precisely.
Fourth, I smooth every wrinkle, trim excess with sharp scissors, and walk the perimeter. These installation steps prevent bunching disasters underfoot and ensure your carpet pad performs as intended.
How to Correct a Reversed or Misaligned Pad
How do I know when I’ve messed up the pad? You’ll feel it: that weird lump under your toes, the rug sliding like it’s on ice, or that crinkly sound that makes you wince. I’ve been there, staring at my floor like it betrayed me.
Here’s how we fix this together:
- Check the texture. Run your hand across both sides; the smoother one usually kisses the floor.
- Spot the underside liner. That felt or rubber backing wants to hug your hardwood, not your rug.
- Flip and rotate. Lift that rug, spin the misaligned pad, and feel it click into place.
- Smooth those edges. Banish every curl, every wrinkle, stomp it flat with satisfaction.
Pad orientation isn’t rocket science; it’s just paying attention. Your floors will thank you.
Why Proper Orientation Extends Rug and Floor Life
I learned the hard way that flipping my pad wrong meant watching my beautiful jute rug grind into dust within two years. What a nightmare. When you get the orientation right, that cushy barrier actually protects your hardwood from the gritty sandpaper effect of daily foot traffic, and your rug fibers stay springy instead of flattening into sad pancakes. Spending five extra minutes checking which side faces down saves you from premature replacement, and your floors will function optimally for decades.
Protecting Floor Surfaces
Why does flipping a simple pad wrong feel like such a betrayal to your gorgeous floors? I learned this the hard way when my “fancy” backward install left ghost marks on my oak planks. Carpet pad orientation isn’t just a fussy detail; it’s floor protection that actually works.
Here’s what I’ve figured out through trial and error, plus one very embarrassing call to my contractor:
- Always check which side carries the actual protective layer, because that barrier faces down
- Pad barrier orientation matters significantly for moisture. My basement rug taught me that lesson with a faint, musty shadow
- Following manufacturer guidance prevents those weird, worn patches that indicate someone didn’t read directions
- Getting it right stops the wrinkling that slowly sands your finish away
Your floors will benefit from proper installation.
Extending Rug Longevity
Where exactly does your favorite rug start showing its age first—that flattened stripe by the couch, maybe, or those sad, matted paths near the doorway? I’ve been there, staring at my own worn-out beauties, wondering where I went wrong.
Carpet pad orientation significantly affects rug longevity. When I flipped my pad correctly with the rubber side down and felt up, the results were measurable. Proper orientation prevents shifting and wrinkling that grinds down fibers with every step.
When weight distributes evenly (no more crater zones by the coffee table), padding durability increases substantially. Wrong-side-down orientation creates friction that prematurely damages pads. Get this right, and your floor covering stays vibrant, plush, and functional for years.