
I learned the hard way, three weeks of regret actually, that painting your mobile home exterior demands patience and the right sequence. Start by checking the weather forecast carefully, because you’ll need four dry days between 50°F and 85°F with low humidity. Power wash everything with mild detergent, scrub that chalky residue until it’s gone, and tackle rust spots with a rust-inhibitive primer. Match your paint to your siding: 100% acrylic latex for metal, vinyl-safe formulas for vinyl, wood primer for wood. Never skip that primer layer. I roll big walls with a 3/4 inch nap in a W-pattern, spray for speed keeping that nozzle dancing, and brush edges for crisp lines, always working top to bottom. Two coats of exterior latex with proper drying between layers will complete the job. Inspect every spring, wash yearly, keep touch-up paint handy, and plan to repaint every five years. Following this schedule ensures your siding will withstand weather exposure and maintain its appearance through multiple storm seasons.
Pick the Best Weather Window for Exterior Painting
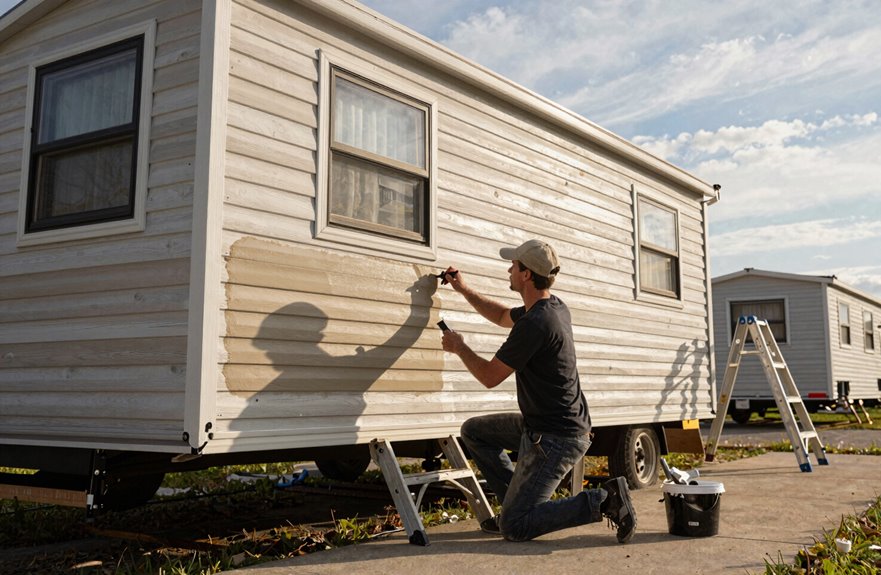
When exactly should you drag out that ladder and crack open the paint cans? Exterior painting demands patience. Your weather window matters more than that “perfect” color swatch you’ve been obsessing over.
Hunt for temperatures between 50°F and 85°F, low humidity, and a bone-dry forecast. No exceptions. I’ve watched primer peel like sunburned skin because the forecast was ignored. Temperature and humidity affect your drying times significantly; paint stays tacky when it’s muggy out, and streaks form when the sun blasts too hard.
Plan three to four stable days minimum. That gives you time to clean, prime, and lay down two gorgeous coats without Mother Nature interfering. Your future self will appreciate this preparation.
Power Wash and Prep: Remove Grime, Rust, and Chalking
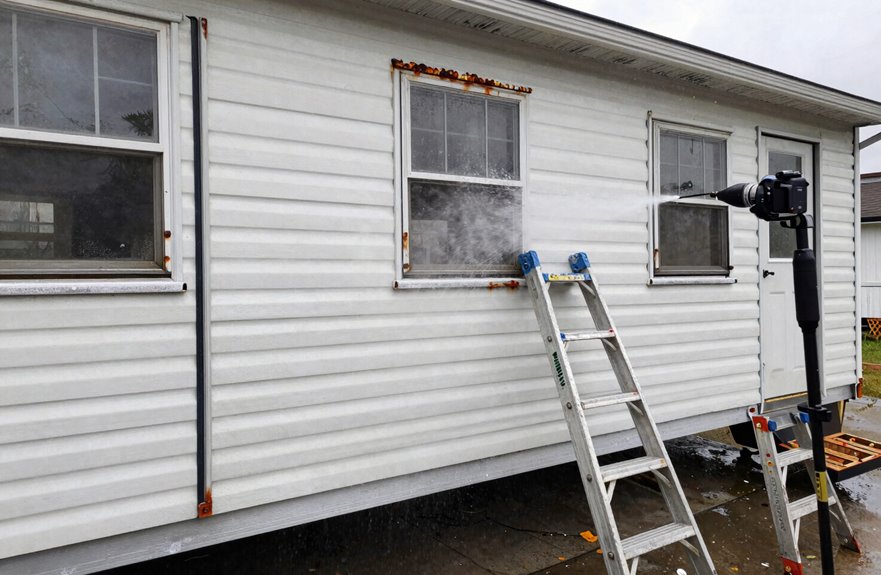
Why start with a soggy, grimy mess when I can hand you a blank canvas? I grab my power wash setup, nothing fancy, just determination and a mild detergent mix (quarter cup per gallon, warm water), and blast away years of neglect. For stubborn mildew, I’ll swap in TSP, watching that exterior surface transform from embarrassing to promising.
Rust hides, and chalking disguises itself as “character.” I scour every metal patch, sanding loose rust until my arms ache, then lock it down with rust-inhibitive primer without shortcuts. That powdery chalking requires scrubbing until my sponge runs gray, because new paint won’t stick to dust.
I fill cracks with exterior spackle, sand smooth, rinse thoroughly, then wait. A full day of drying is essential. Moisture trapped underneath will bubble, peel, and ruin everything.
Match Exterior Paint to Your Siding: Metal, Vinyl, or Wood Options
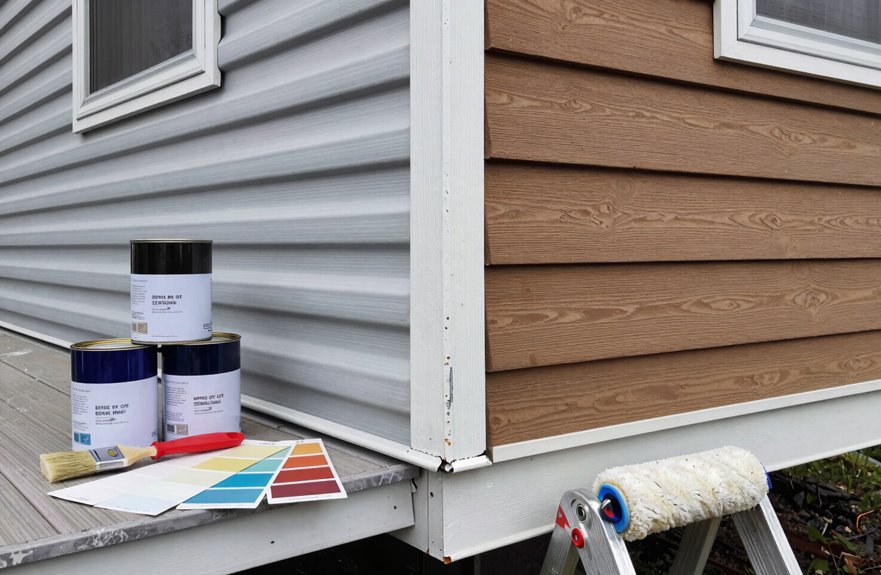
I’ve learned the hard way that grabbing any old exterior paint is a recipe for peeling disaster, so let’s talk about what actually works for your specific siding. Metal needs that flexible 100% acrylic latex combo to stop rust from returning. Vinyl demands special formulas so it doesn’t warp into wavy shapes. Wood requires primer first, then that same acrylic formula to seal out moisture. Pick the wrong match, and you’re repainting in two years. Pick right, and you’ll have a durable finish that maintains its appearance for years to come.
Metal Siding Paint Choices
Metal siding isn’t out to get you, though my first attempt at painting it looked like I’d flung paint from across the yard and hoped for the best. Rust laughs at cheap paint, so the solution is straightforward: 100% acrylic latex exterior paint paired with a rust-inhibitive primer that adheres properly.
I skip oil-based entirely. Latex breathes better, flexes with temperature swings, and won’t peel when your siding expands. For metal siding, I prime bare spots or rust patches first without shortcuts. Here’s my finish breakdown:
| Surface | Sheen | Why I Love It |
|---|---|---|
| Main walls | Satin | Hides imperfections, cleans easy |
| Main walls | Eggshell | Subtle glow, super forgiving |
| Trim | Semi-gloss | Pops against walls, tough as nails |
| Trim | Gloss | Mirror shine, maximum washability |
The trim finish choice determines your home’s appearance. Select the option that suits your aesthetic preferences.
Vinyl Siding Paint Solutions
Vinyl siding looks innocent enough, but paint it wrong and you’ll watch your home buckle like a funhouse mirror. My neighbor’s “budget makeover” turned her panels into wavy potato chips by August. You need vinyl siding paint that actually breathes with the material, not fights it.
Always use exterior acrylic latex, nothing else comes close. Skip the oil-based stuff; it’ll crack faster than expected. Start with a vinyl-safe primer. Don’t skip this step. For the body, a satin finish is forgiving on imperfect walls. Trim gets semi-gloss for that pop. Even your vinyl skirting deserves the same latex paint love because flexibility matters everywhere. Your mobile home will maintain years of gorgeous, warp-free color.
Wood Siding Paint Requirements
Wood siding reveals everything: every grain, every story, every place it needs love.
Prepare surfaces thoroughly. Prime wood siding with a wood-primer built for exterior latex paint. This seals against moisture, prevents rot, and gives acrylic latex something to grip. Avoid oil-based primers, as they crack in temperature swings.
Use 100% acrylic latex for flexibility when temperatures change. For color, pair a warm neutral body with crisp trim accents and apply satin finish on walls for durability and a forgiving appearance.
Fix Rust Runs, Cracks, and Damage Before Priming

I’ve learned the hard way that skipping rust stain treatment causes orange streaks to bleed right through your fresh paint in six months. For crack repair methods, use exterior spackle for tiny hairlines and caulk for anything that moves, because gaps that open up after the first cold snap will ruin a smooth finish. Spending an afternoon scraping with a wire brush and sealing every blemish now prevents peeling patches later. Proper surface preparation allows primer to adhere correctly and last.
Rust Stain Treatment
Nothing kills a fresh paint job faster than rust bleeding through like a bad tattoo, so grab a wire brush before applying primer. Skipping this step invites orange streaks to ruin the finish.
For rust treatment that actually sticks, follow this routine:
- Scrub every speck of loose rust until the metal siding gleams, then wipe away dust to remove all debris.
- Apply rust-inhibitive primer over those stubborn rust stains, sealing them so they cannot escape.
- Patch pitted spots with exterior spackle, sand smooth, and prime again. A second primer coat prevents rust from returning within a year.
Clean thoroughly after application, let the primer cure completely, then apply topcoats for a finished appearance.
Crack Repair Methods
A single crack can turn your whole paint job into a peeling nightmare, so scrape off loose paint from every inch of this siding. Crack repair requires attention to detail. Scrape off loose paint, sand until smooth, then fill gaps with exterior spackle or caulk, depending on the damage. Rusted metal requires cleaning followed by rust-inhibitive primer application. For wood joints, use exterior-grade caulk generously, as moisture penetration causes deterioration. Feather those edges, rinse thoroughly, and allow everything to dry completely. Priming comes next, sealing repairs and preventing future peeling. Skipping this step results in premature paint failure and the need for repainting within a year.
Prime Bare Metal and Wood to Stop Peeling and Extend Paint Life
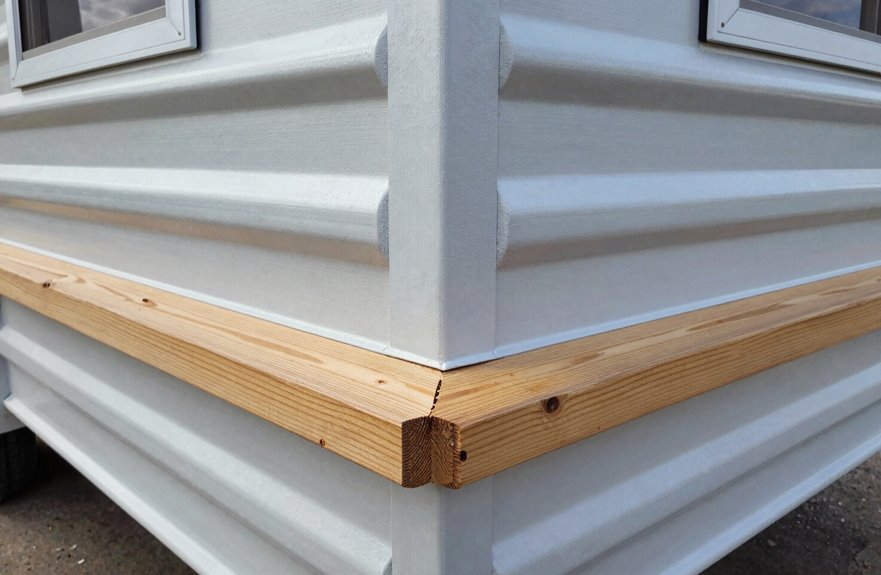
Why skip the primer when that’s exactly where your paint job lives or dies. I’ve learned this the hard way, and now I’m passing the savings on to you.
Skip the primer and watch your paint job die—I learned that lesson the hard way so you don’t have to.
Here’s what actually works on your mobile home:
- Bare metal demands a rust-inhibitive primer before any exterior latex paint touches it, or you’ll watch corrosion bubble through within months.
- Wood primer seals thirsty grain, blocking moisture while creating tooth for serious adhesion that won’t quit.
- Color changes need that undercoat, period, unless you enjoy ghostly patches haunting your finish.
Match your primer to your siding material, ensure latex compatibility, then layer on 1–2 coats of quality exterior latex paint. This isn’t just prep; it’s protection. Your future self, admiring that flawless siding years from now, will benefit from your decision not to cut corners.
Spray, Roll, or Brush: Apply Paint From Top to Bottom
Primer’s dry, I’m caffeinated, and now it’s time to apply color. Exterior paint requires a top to bottom approach. Start at the roofline and work down to avoid drips and uneven coverage.
I’ll grab my sprayer first for speed, keeping that nozzle moving steady so overspray doesn’t reach nearby surfaces. Mask everything before starting. For big walls, I’ll roll with a 3/4 inch nap on an extension pole using a W-pattern with slight overlap for uniform coverage. Edges and trim get the brush treatment, because precision matters where people actually look.
Multiple coats with proper drying between each application are necessary. That second coat isn’t optional. It’s the difference between acceptable coverage and professional-quality results.
Cure, Inspect, and Maintain: Timing for Touch-Ups and Repainting
Once that final coat goes on, I’m pacing like an expectant parent waiting for paint to cure. Exterior latex needs time to harden, so I don’t rush it.
Here’s my maintenance schedule to keep surfaces looking sharp:
- Inspect every spring for chalking, peeling, or rust spots. Catching wear and aging early prevents costly repairs.
- Wash yearly, keep labeled touch-up paint handy, and apply touch-ups promptly before moisture penetrates.
- When repainting day comes, usually every 5 years or sooner with intense sun exposure, follow the same prep routine: power wash, TSP scrub, and ensure a bone-dry surface.
This approach builds finishes that last.